目录
- 一、 idea中配置git
- 二、 idea中使用git
一、 idea中配置git


先配置好git的本地地址,然后test,出现版本号说明测试成功!
二、 idea中使用git
可以直接在idea中使用命令操作git
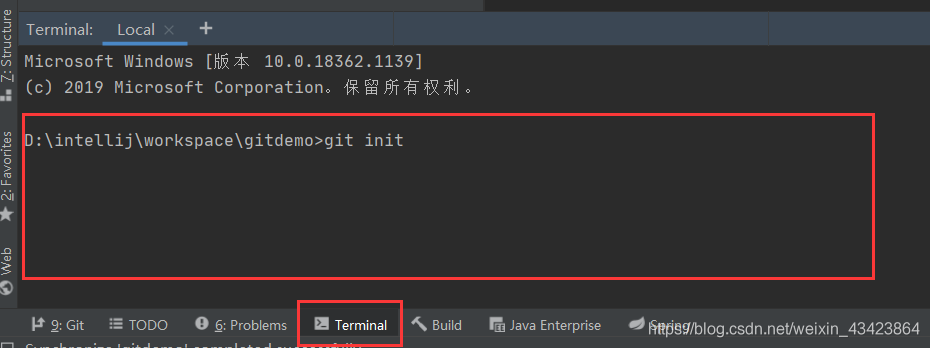
1.初始化本地仓库
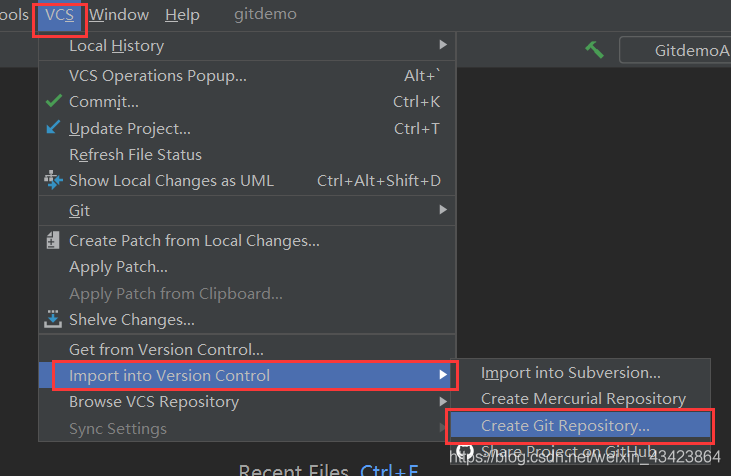
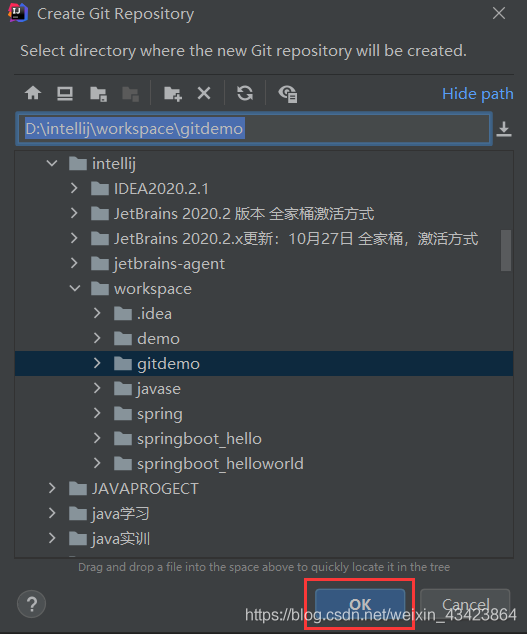
选好项目点击OK即可。
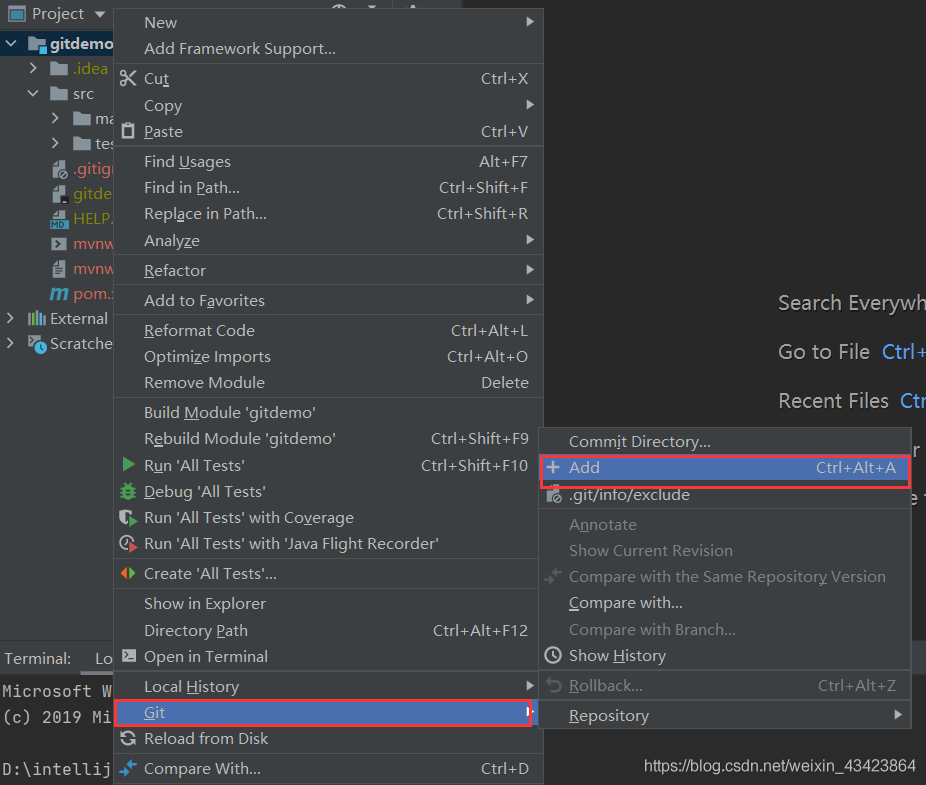
2.添加到暂存区
3.提交到本地仓库

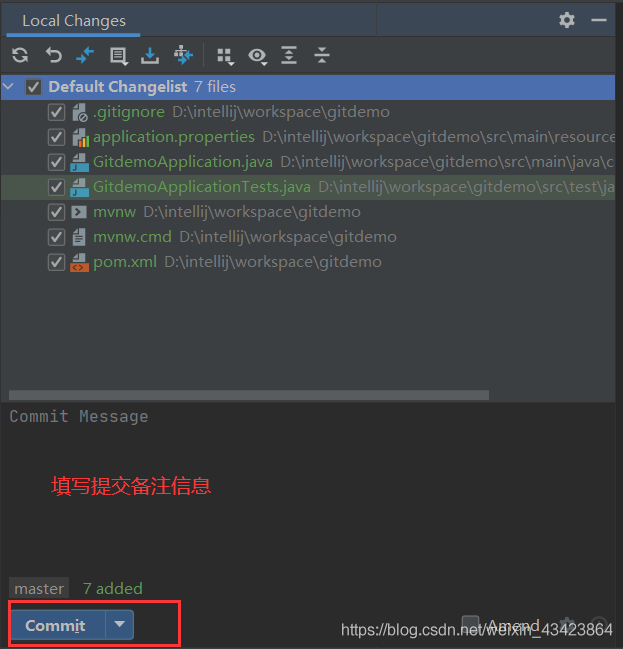
也可以在这里提交,效果一样只是位置不一样
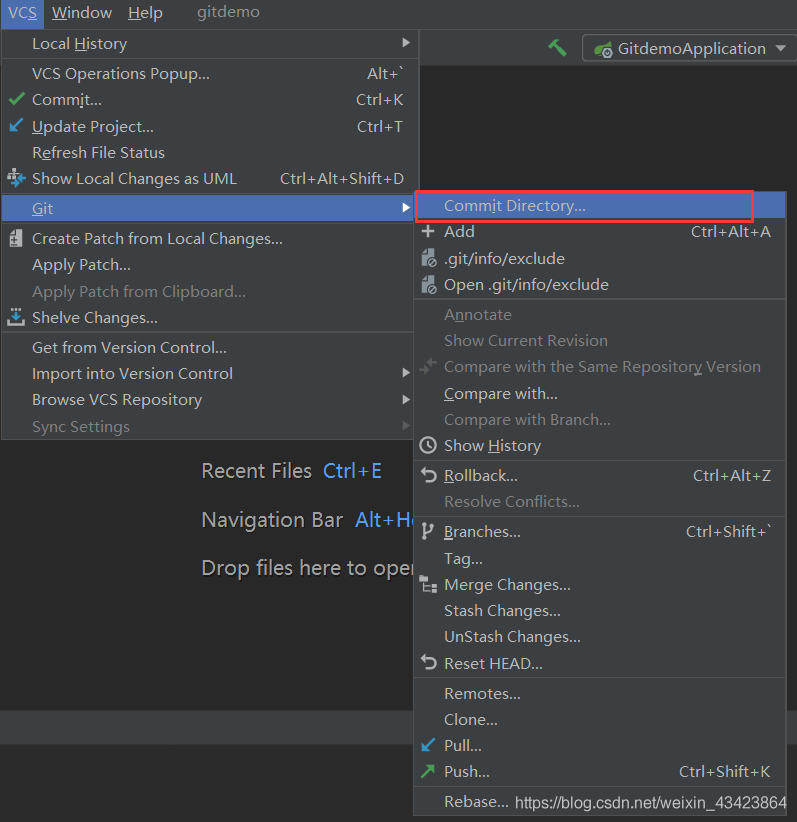
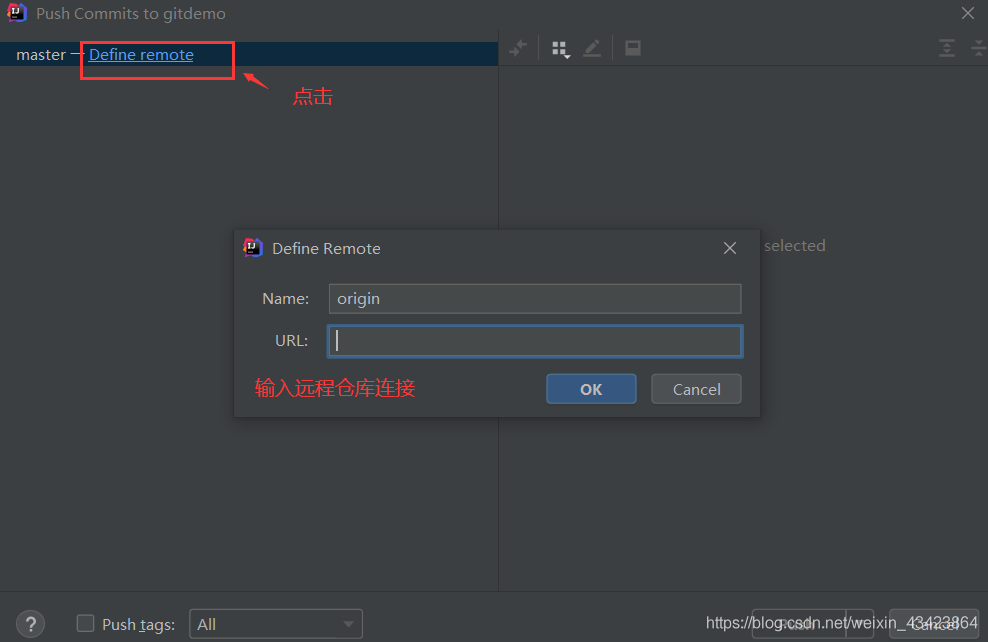
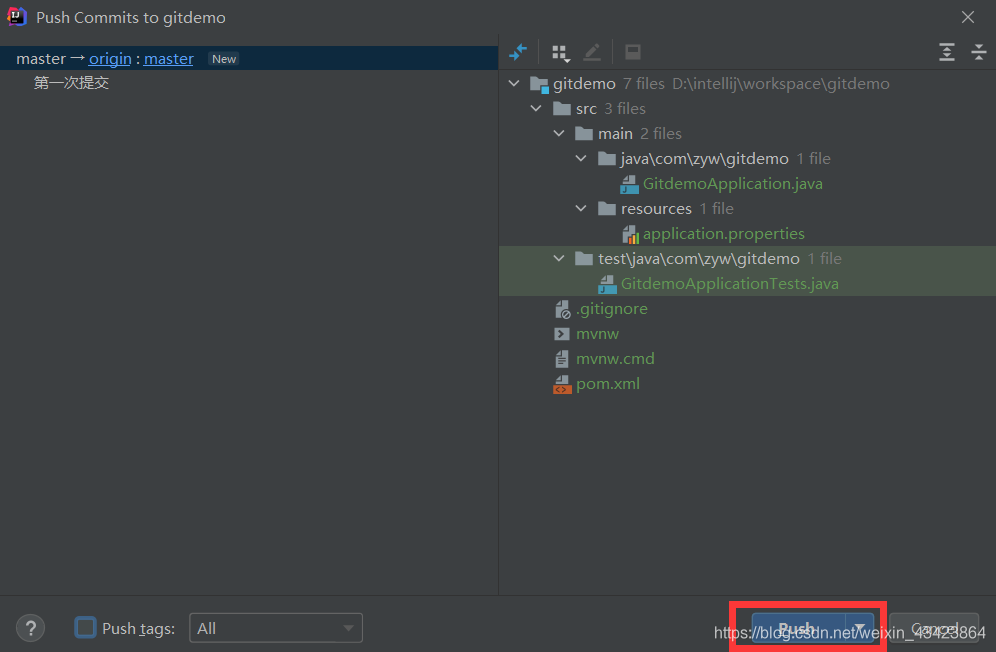
4.推送至远程仓库

5.直接克隆项目到本地
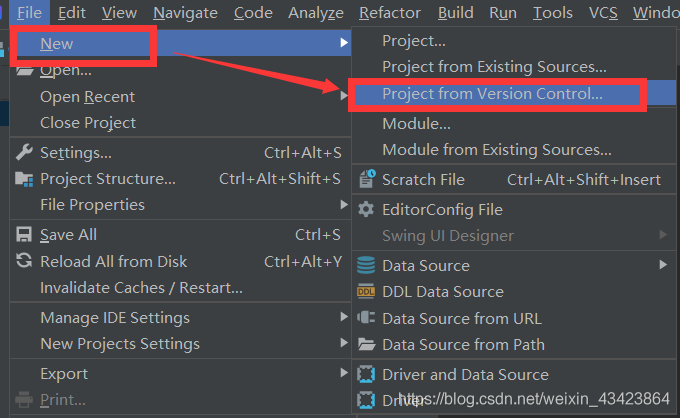
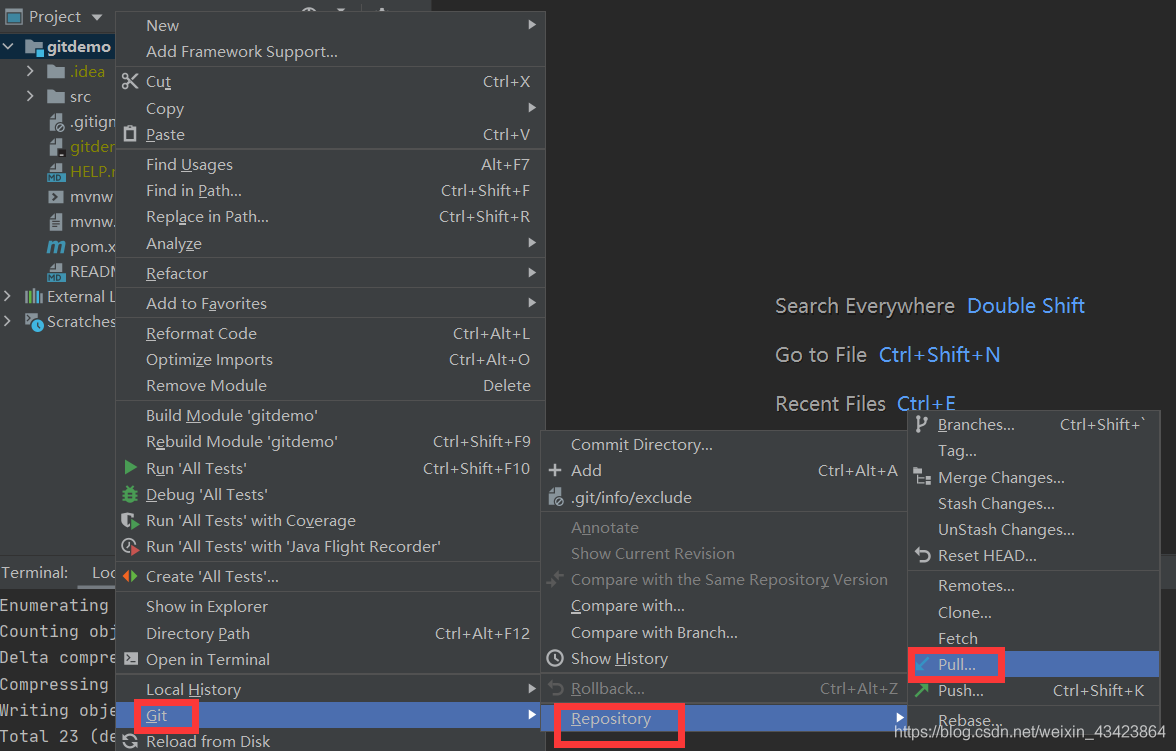
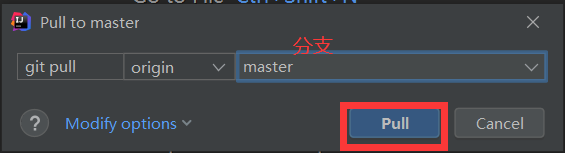
6.拉取项目到本地
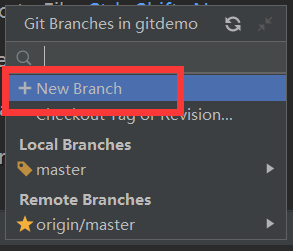
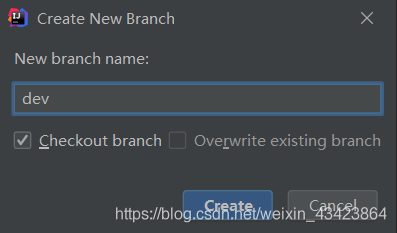
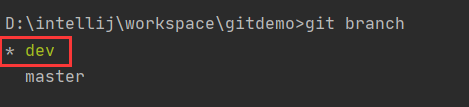
7.创建分支
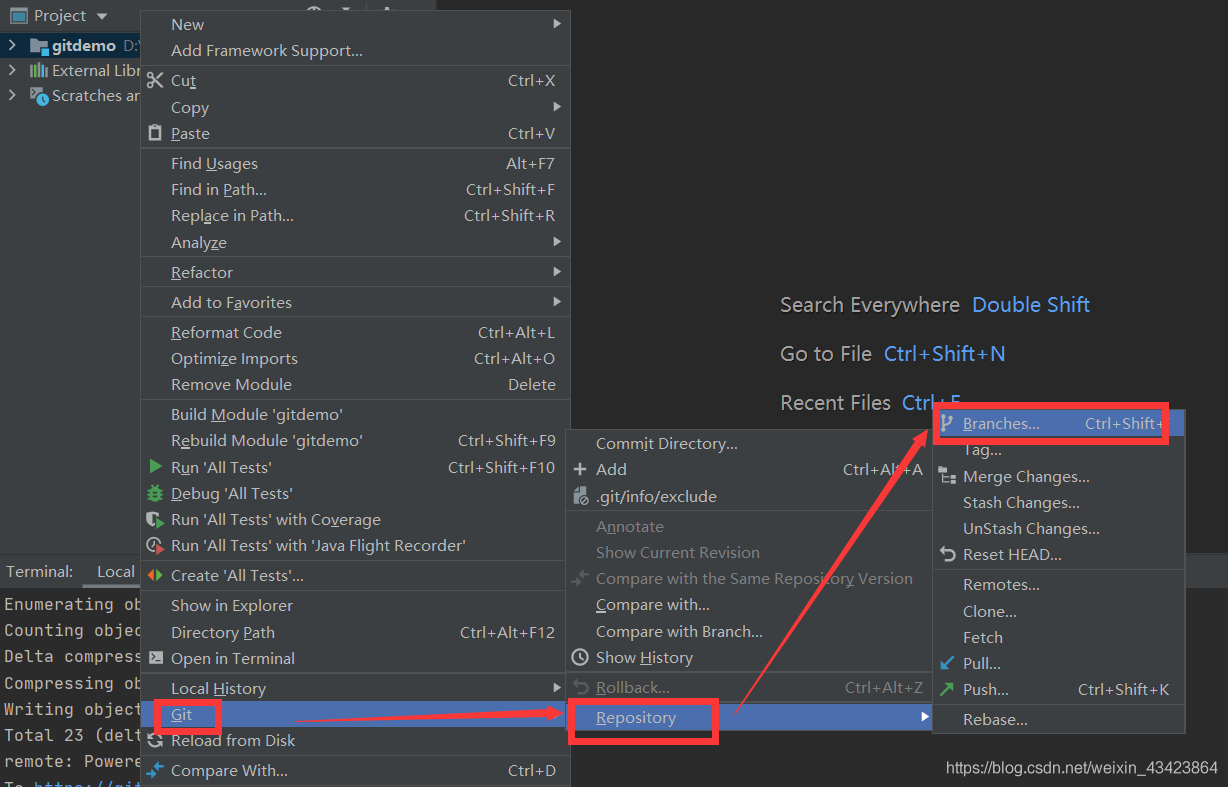
这时候就切换到了新创建的分支
到此这篇关于在IDEA(2020.2)中配置Git及使用Git的图文详解的文章就介绍到这了,更多相关IDEA配置使用Git内容请搜索脚本之家以前的文章或继续浏览下面的相关文章希望大家以后多多支持脚本之家!
您可能感兴趣的文章:- IDEA配置码云Gitee的使用详解
- 详解idea中Git的Stash Changes和UnStash Changes用法
- IDEA中git撤回上一次push的方法(指定回到某个版本)
- IDEA+Git+Gitlab使用详细教程
- IDEA中项目集成git提交代码的详细步骤
- 一文秒懂idea的git插件跟翻译插件


 咨 询 客 服