目录
- 一、前言
- 二、源码下载
- 三、本地配置
- 四、IDEA 设置
- 五、启动验证
- 六、使用源码调试简单脚本
- 七、模仿编写脚本
- 八、小结
nGrinderr(version: 3.4.1)是NAVER(韩国最大互联网公司NHN旗下搜索引擎网站)开源的性能测试工具,直接部署成web服务,支持多用户使用,可扩展性好,可自定义plugin。
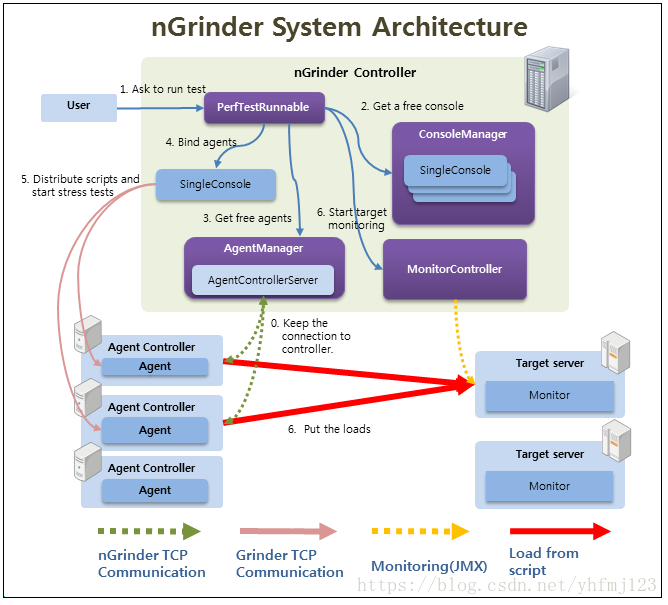
nGrinder 是一款在一系列机器上执行 Groovy 或 Jython 测试脚本的应用,内部引擎是基于 Grinder。 nGrinder 使用 controller 和 agent 分别包装了 Grinder 的 console 和 agent ,而且扩展了多种功能使其能够支持并发测试。
nGrinder 由两个主要的组件组成
提供性能测试的web接口。
协调测试进程。
整理和显示测试的统计结果
让用户创建和修改脚本。
在代理服务器上加载运行测试进程和线程。
监控目标机器的系统性能(例如:CPU/MEMORY/网卡/磁盘)
一、前言
- 为了更好了解 nGrinder 怎么工作?
- 为二次开发做准备
二、源码下载
下载地址:https://github.com/naver/ngrinder/releases

也可以直接通过:https://github.com/naver/ngrinder.git 方式

三、本地配置
这我们演示直接使用下载 zip 包进行安装:
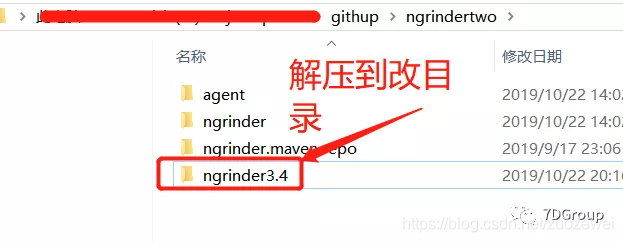
打开目录启动脚本:
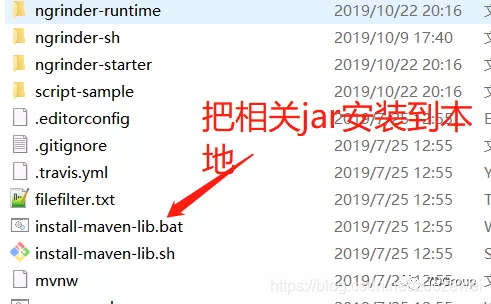
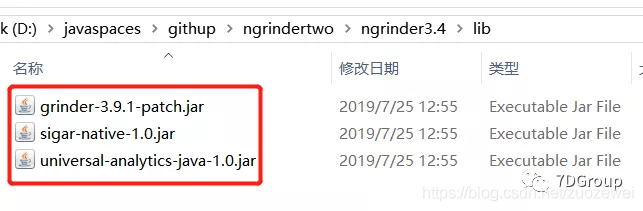
等待执行成功便把如下 jar 包安装到本地仓库:
四、IDEA 设置
打开 IDEA 开发工具:
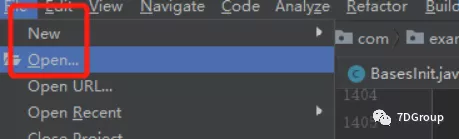
点击文件导入 Project:
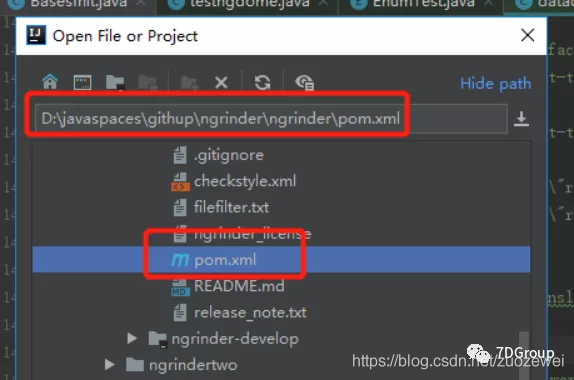
点击 Open as Project:
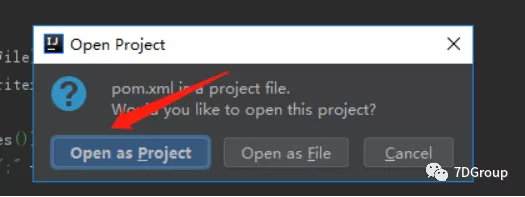
打开一个新窗口:

等待 maven 加载相应的 jar。
修改代码:
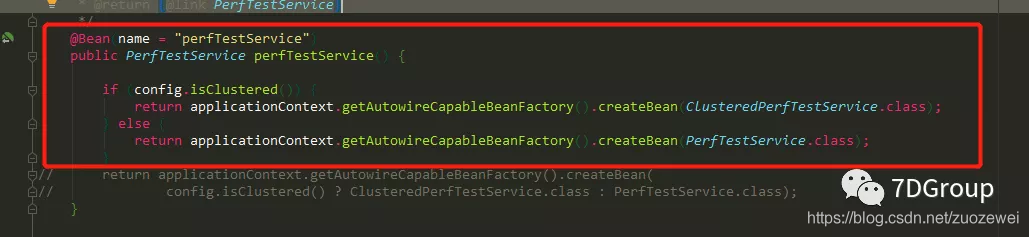
具体代码如下:
package org.ngrinder.perftest.service;
import org.ngrinder.infra.config.Config;
import org.springframework.beans.factory.annotation.Autowired;
import org.springframework.context.ApplicationContext;
import org.springframework.context.ApplicationContextAware;
import org.springframework.context.annotation.Bean;
import org.springframework.context.annotation.Configuration;
import org.springframework.context.annotation.EnableAspectJAutoProxy;
import org.springframework.context.annotation.Profile;
import org.springframework.scheduling.annotation.EnableScheduling;
import org.springframework.transaction.annotation.EnableTransactionManagement;
/**
 * Dynamic creation of {@link PerfTestService} depending on the cluster enable or disable.
 *
 * @author JunHo Yoon
 * @since 3.1
 */
@Configuration
@Profile("production")
@EnableScheduling
@EnableTransactionManagement
@EnableAspectJAutoProxy
public class PerfTestServiceConfig implements ApplicationContextAware {
   @Autowired
   private Config config;
   private ApplicationContext applicationContext;
   /**
    * Create PerTest service depending on cluster mode.
    *
    * @return {@link PerfTestService}
    */
   @Bean(name = "perfTestService")
   public PerfTestService perfTestService() {
      if (config.isClustered()) {
         return applicationContext.getAutowireCapableBeanFactory().createBean(ClusteredPerfTestService.class);
      } else {
         return applicationContext.getAutowireCapableBeanFactory().createBean(PerfTestService.class);
      }
//    return applicationContext.getAutowireCapableBeanFactory().createBean(
//          config.isClustered() ? ClusteredPerfTestService.class : PerfTestService.class);
   }
   @Override
   public void setApplicationContext(ApplicationContext applicationContext) {
      this.applicationContext = applicationContext;
   }
}
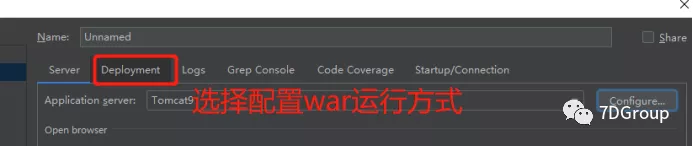
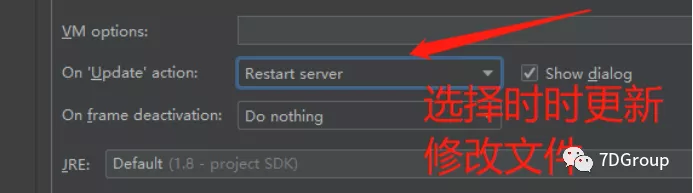
再次配置 Tomcat:
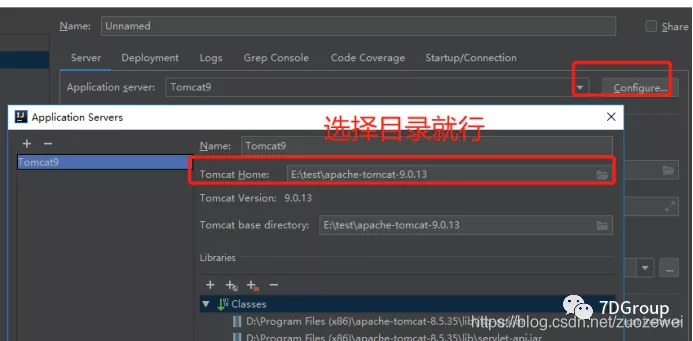
选择运行方式:
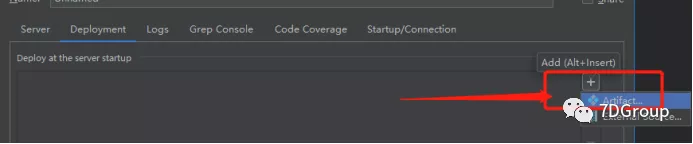
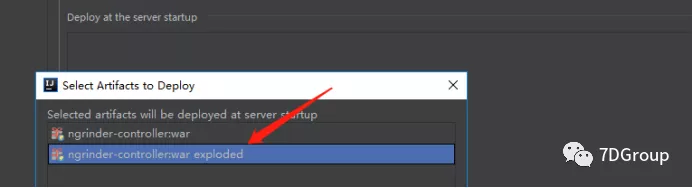
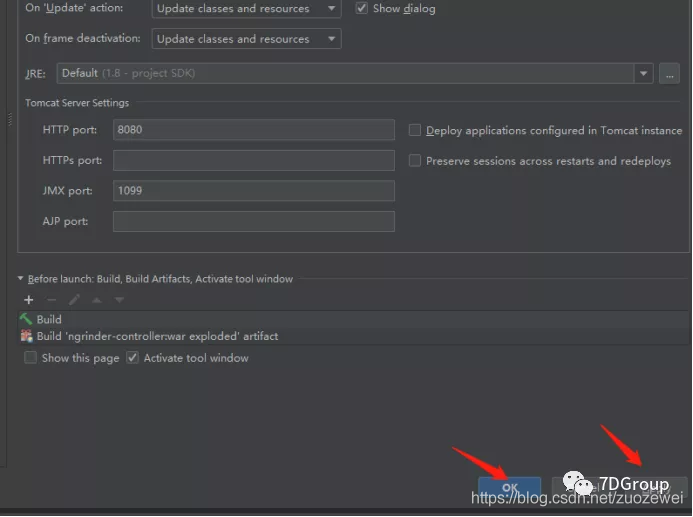
选择时时更新运行:

注意最好是加上 JVM 启动参数:
-Xms1024m -Xmx1024m -XX:MaxPermSize=200m
防止内存出现异常

点击确定:
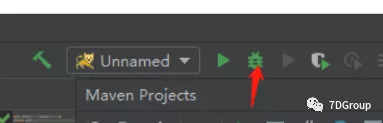
启动项目:
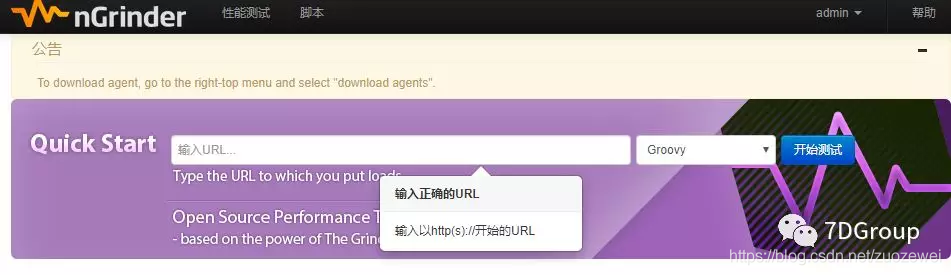
五、启动验证
打开浏览器验证是否成功:
http://localhost:8081/ngrinder/login

登录成功:
六、使用源码调试简单脚本
在 script-sample工程下的 pom.xml文件增加:
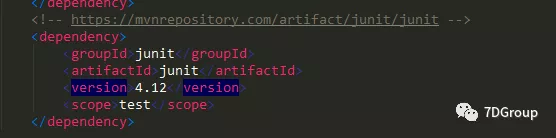
代码如下:
!-- https://mvnrepository.com/artifact/junit/junit -->
dependency>
   groupId>junit/groupId>
   artifactId>junit/artifactId>
   version>4.12/version>
   scope>test/scope>
/dependency>
再次在 idea 中全局搜索:
groovy-all
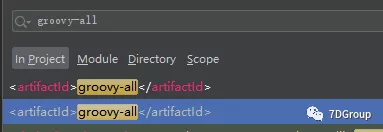
查看版本号,统一修改为:
version>2.4.16/version>
七、模仿编写脚本
通过平台生成脚本:

点击 R HEAD:

查看脚本:
importstatic net.grinder.script.Grinder.grinder
importstatic org.junit.Assert.*
importstatic org.hamcrest.Matchers.*
import net.grinder.plugin.http.HTTPRequest
import net.grinder.plugin.http.HTTPPluginControl
import net.grinder.script.GTest
import net.grinder.script.Grinder
import net.grinder.scriptengine.groovy.junit.GrinderRunner
import net.grinder.scriptengine.groovy.junit.annotation.BeforeProcess
import net.grinder.scriptengine.groovy.junit.annotation.BeforeThread
// import static net.grinder.util.GrinderUtils.* // You can use this if you're using nGrinder after 3.2.3
import org.junit.Before
import org.junit.BeforeClass
import org.junit.Test
import org.junit.runner.RunWith
import java.util.Date
import java.util.List
import java.util.ArrayList
importHTTPClient.Cookie
importHTTPClient.CookieModule
importHTTPClient.HTTPResponse
importHTTPClient.NVPair


/**
 * A simple example using the HTTP plugin that shows the retrieval of a
 * single page via HTTP.
 *
 * This script is automatically generated by ngrinder.
 *
 * @author admin
 */

@RunWith(GrinderRunner)
classTestRunner{

publicstaticGTest test
publicstaticHTTPRequest request
publicstaticNVPair[] headers = []
publicstaticNVPair[] params= []
publicstaticCookie[] cookies = []

@BeforeProcess
publicstaticvoid beforeProcess() {
HTTPPluginControl.getConnectionDefaults().timeout = 6000
		test = newGTest(1, "www.baidu.com")
		request = newHTTPRequest()
		grinder.logger.info("before process.");
}


@BeforeThread
publicvoid beforeThread() {
		test.record(this, "test")
		grinder.statistics.delayReports=true;
		grinder.logger.info("before thread.");
}


@Before
publicvoid before() {
		request.setHeaders(headers)
		cookies.each { CookieModule.addCookie(it, HTTPPluginControl.getThreadHTTPClientContext()) }
		grinder.logger.info("before thread. init headers and cookies");
}


@Test
publicvoid test(){
HTTPResponse result = request.GET("https://www.baidu.com/", params)

if(result.statusCode == 301|| result.statusCode == 302) {
			grinder.logger.warn("Warning. The response may not be correct. The response code was {}.", result.statusCode);

} else{
			assertThat(result.statusCode, is(200));
}
}
}
复制脚本:
在 idea 中新建脚本:

选择 Groovy 脚本:

输入名字点击保存即可:

新建完毕把刚才脚本复制过来修改下方法名称:
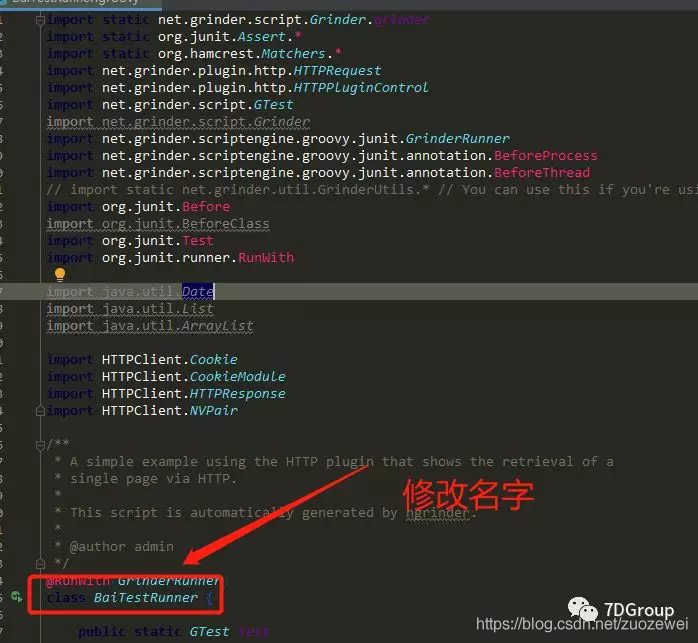
点击运行:

可以看到提示:

在 Idea 菜单栏->Run->Edit Configurations->Default->Junit->在VM options 填写自定义配置,点击 Apply 按钮保存配置即生效:
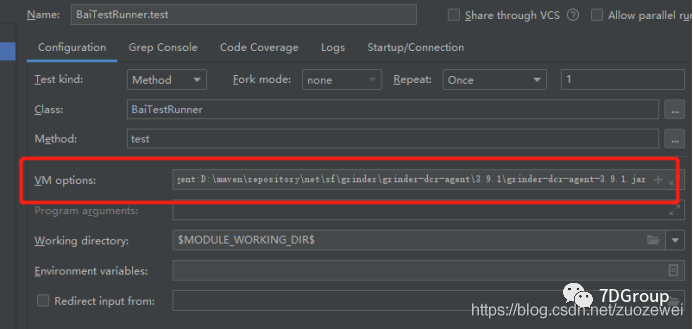
再次点击:

运行结果如下:

到这里本机脚本调试成功。
八、小结
下次再次分享本地参数化与 Post 请求
以上就是性能工具之 nGrinder 源码安装的详细内容,更多关于nGrinder 源码安装的资料请关注脚本之家其它相关文章!
您可能感兴趣的文章:- Docker部署nGrinder性能测试平台过程解析


 咨 询 客 服