安装 Visual Studio 和 .NET Core
1、安装 Visual Studio Community 2015,选择 Community 下载并执行默认安装,Visual Studio 2015 安装程序首页
2、安装.NET Core + Visual Studio 工具,windows系统的可以从这里下载
创建 Web 应用程序
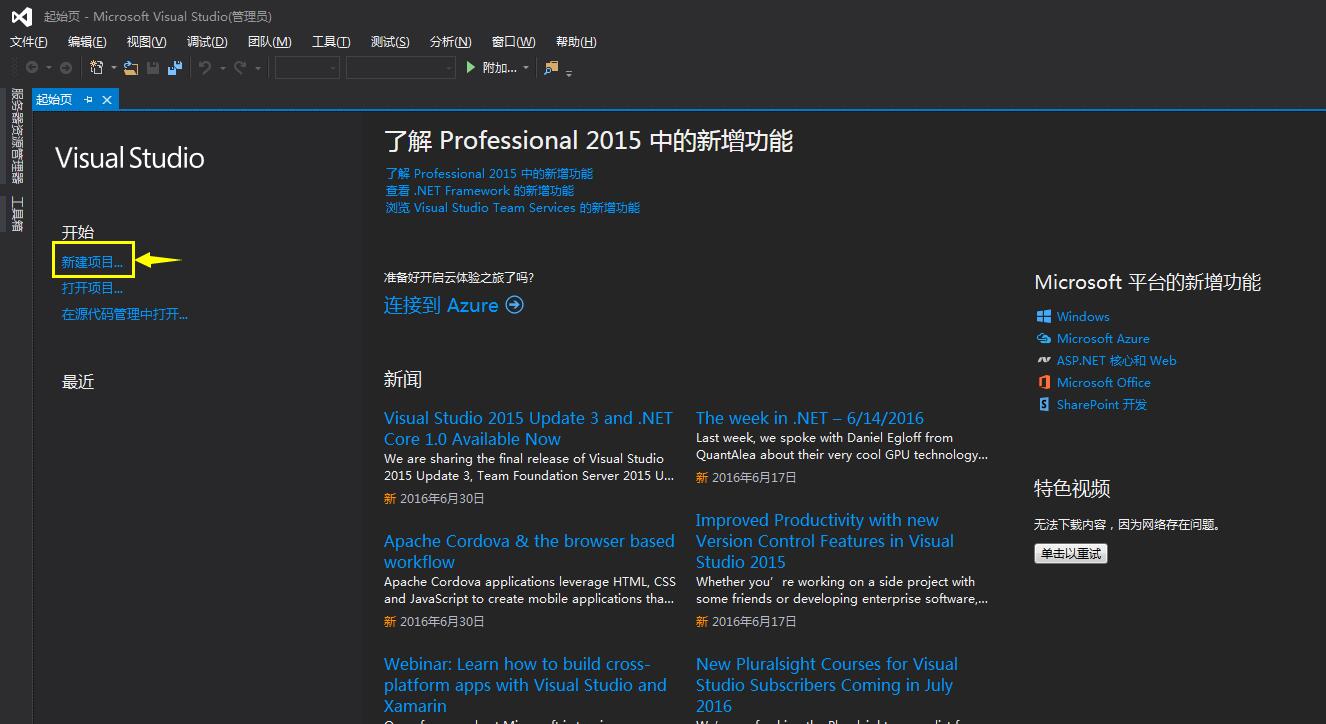
1、起始页 点击 新建项目(或 文件→新建→项目)
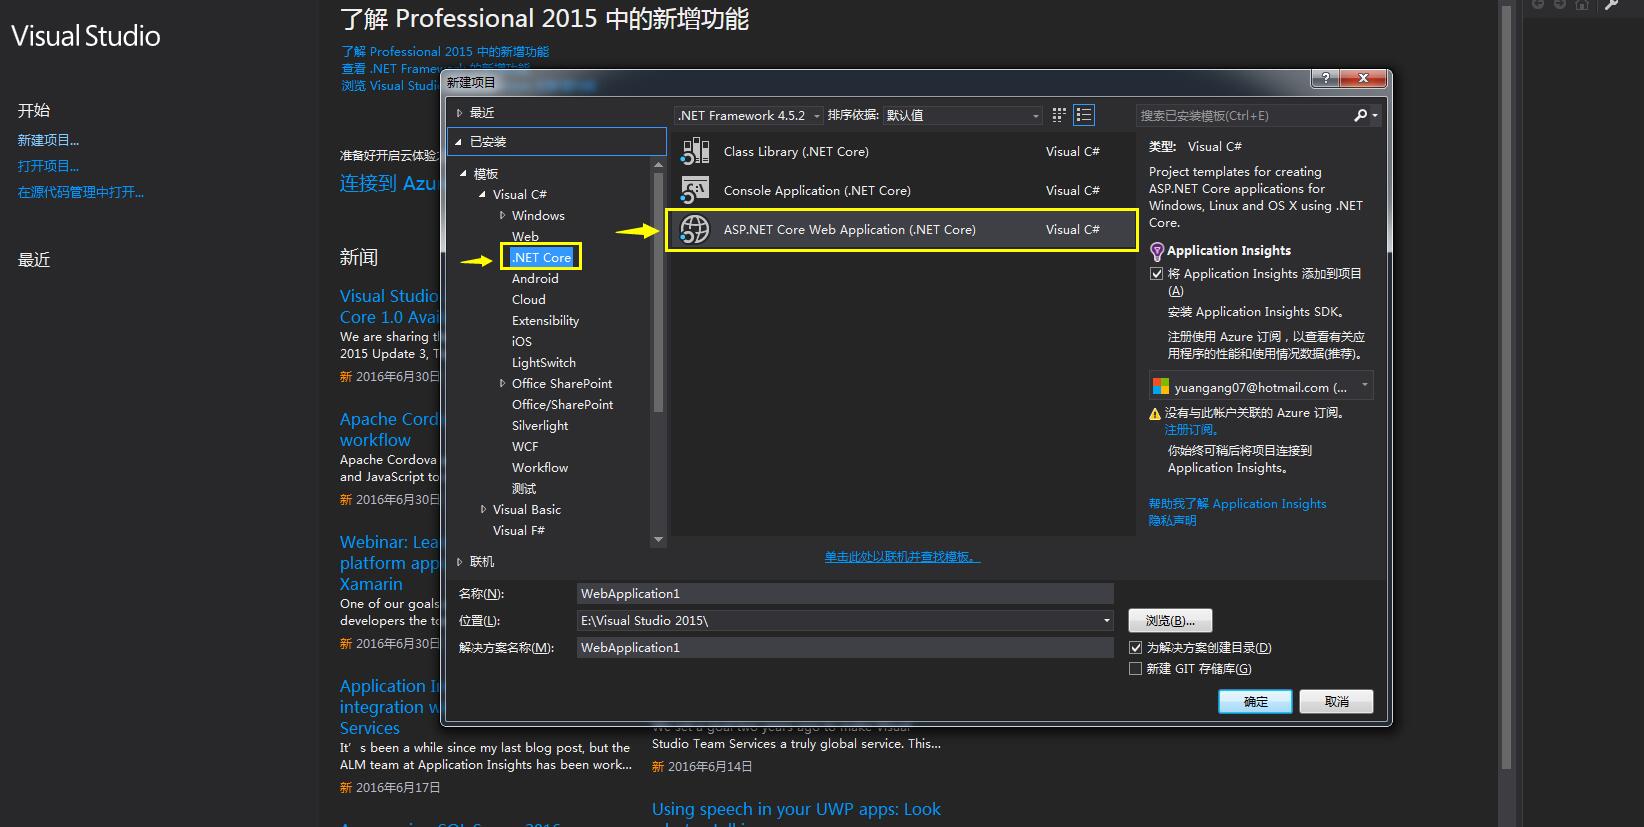
2、选择 左侧 .NET Core (如果没有安装.NET Core + Visual Studio 工具是没有这个选项的,关闭VS 安装这个工具 即可),然后选择 ASP.NET Core Web Application(.NET Core)
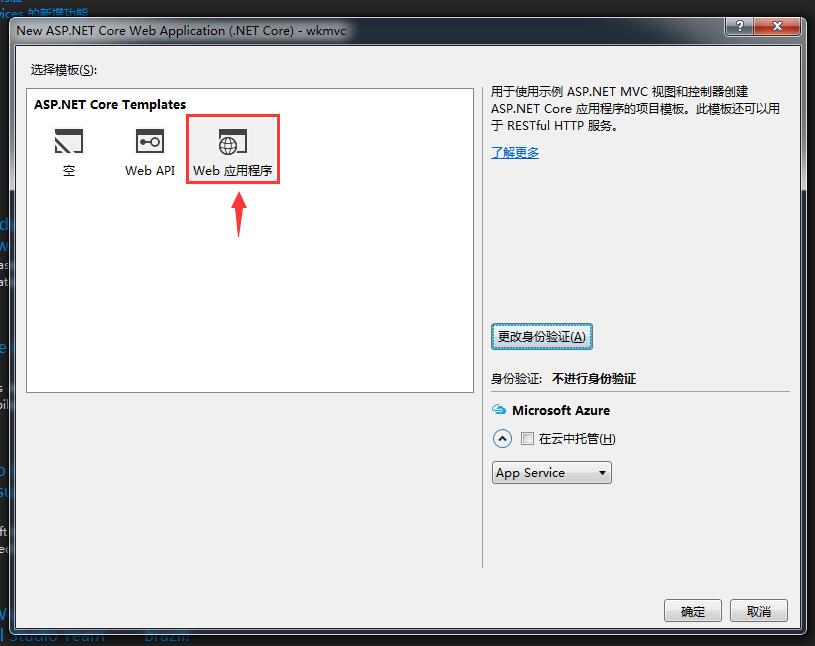
3、选择 Web 应用程序
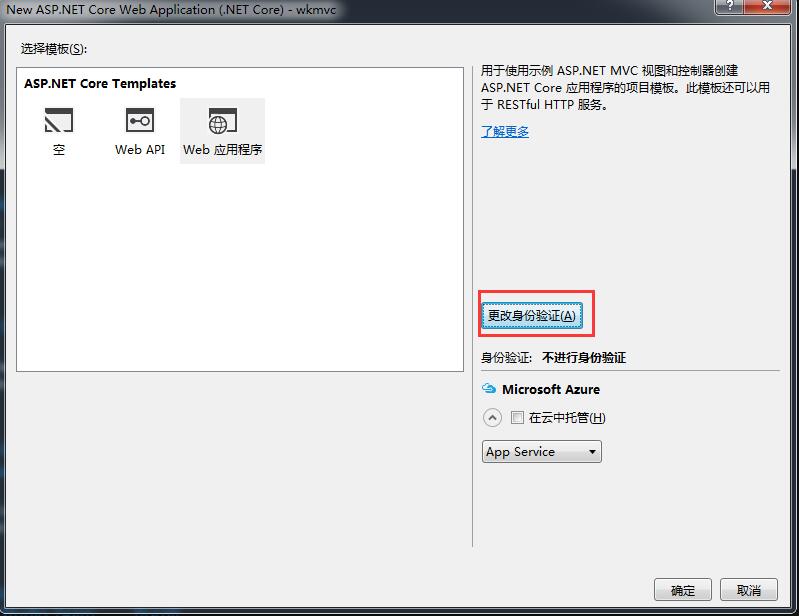
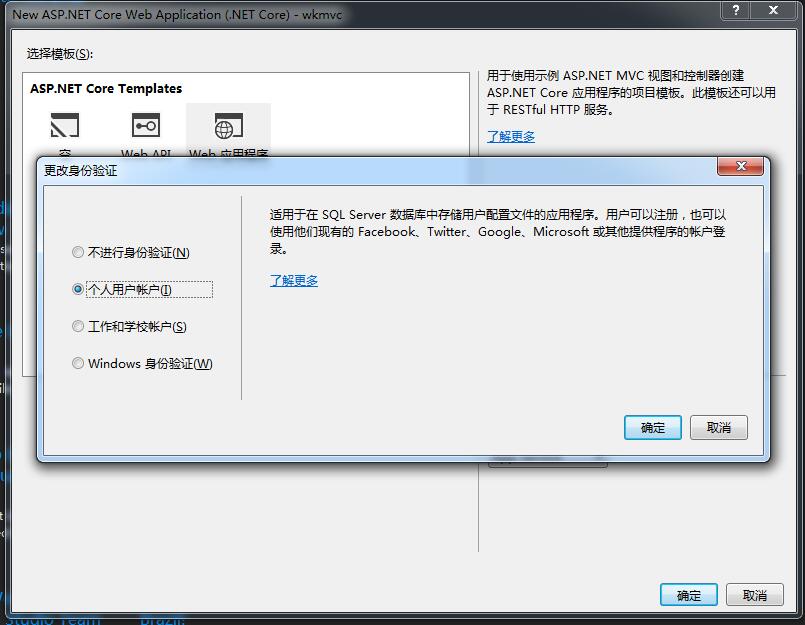
4、更改身份验证 (可以默认不进行身份验证) 里面的选项 标注的比较清晰 自己根据需要
5、确定 生成解决方案
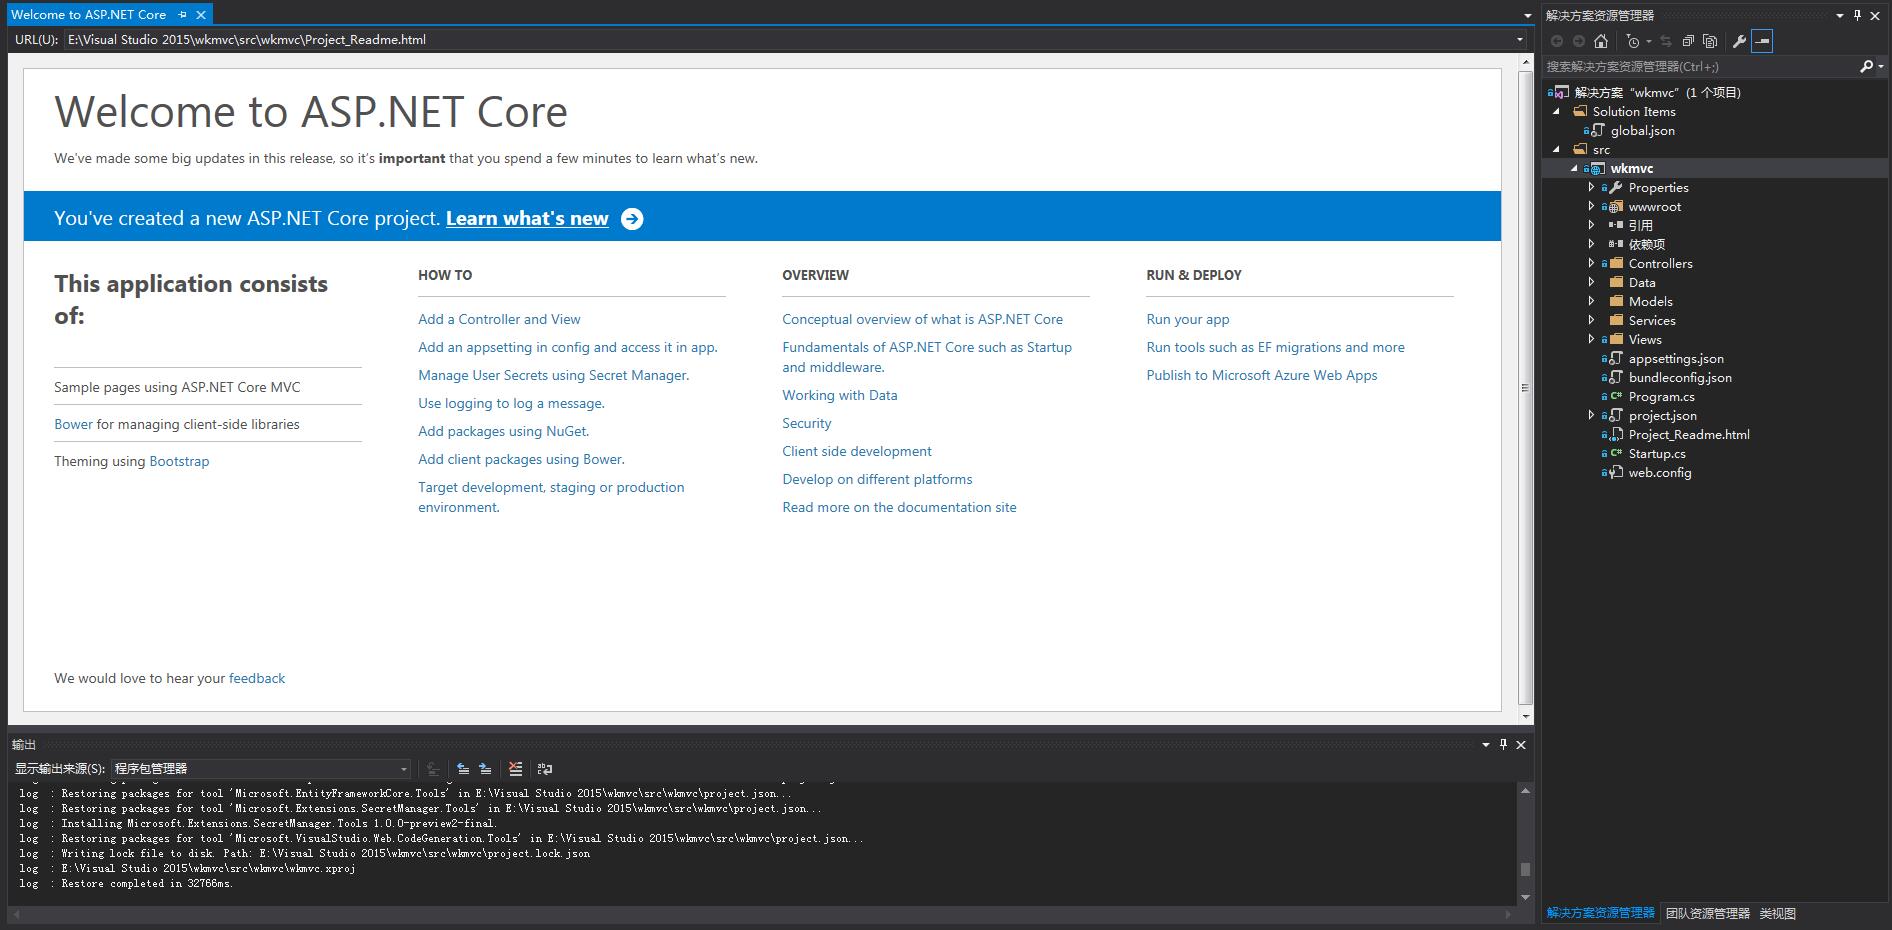
6、我们看下跟以前的有什么不同
模型Models 、控制 Controllers 、视图 Views

7、 我们先在IIS中运行一下 看一下效果,再研究它这些玩意
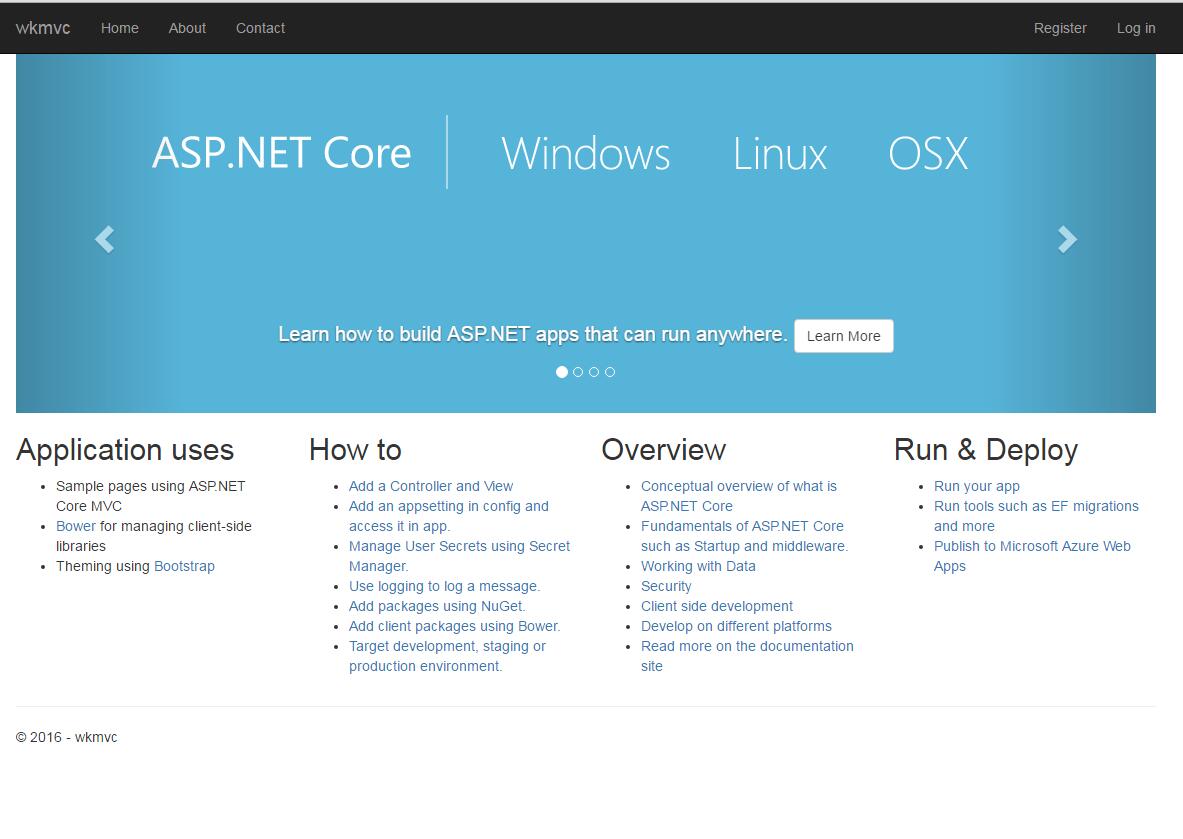

看起来好高级。看代码跟我们之前的写法出入不大,应该比较容易上手。
初次使用Core,基本都是整理网上的资料,之前没有研究过,希望跟大家一起研究下,如有错误的地方,希望大家指正;如有不理解的地方也希望大家指点一下。
以上就是本文的全部内容,希望对大家的学习有所帮助,也希望大家多多支持脚本之家。
您可能感兴趣的文章:- visual studio 2019正式版安装简单教程
- Visual Studio 2015安装步骤详解
- Visual Studio 2017开发环境的安装图文教程
- Visual Studio 2017正式版离线安装教程
- visual studio 2012安装配置方法图文教程 附opencv配置教程
- Visual Studio 2017 (VS 2017)离线安装包制作方法
- Win7安装Visual Studio 2015失败的解决方法
- Visual Studio 2017 离线安装教程
- Visual Studio 2017 community安装配置方法图文教程
- VS2019离线安装方法图文教程


 咨 询 客 服