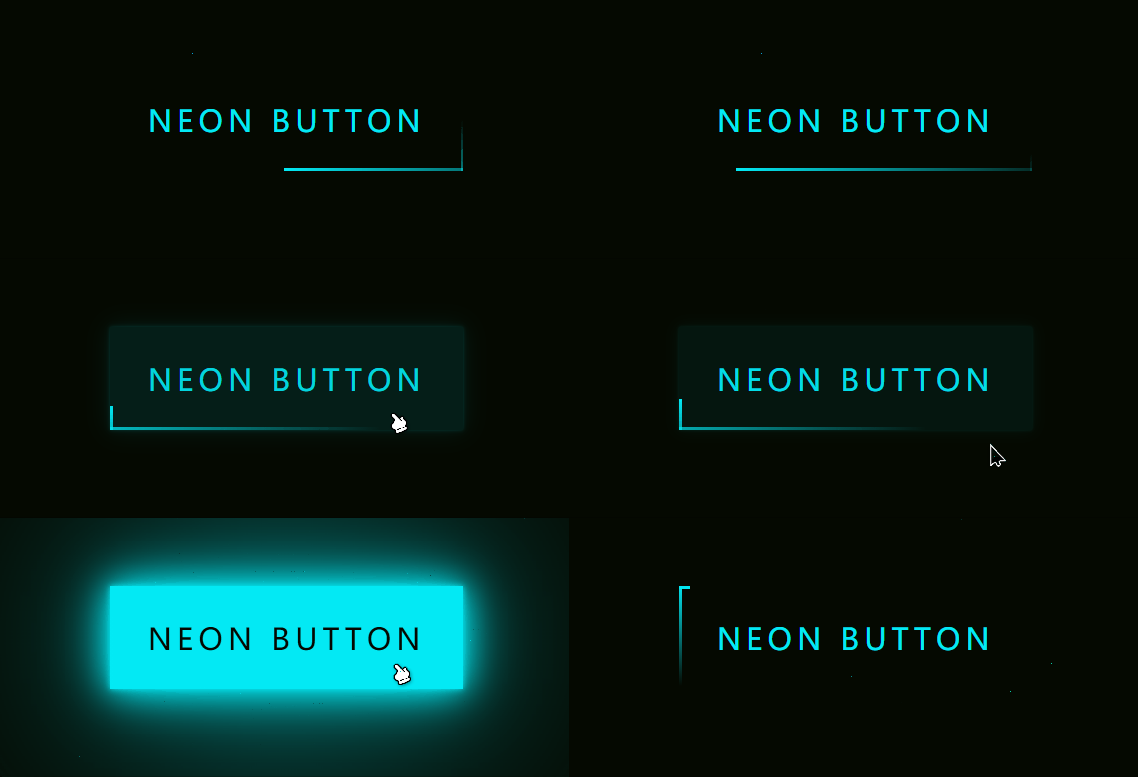
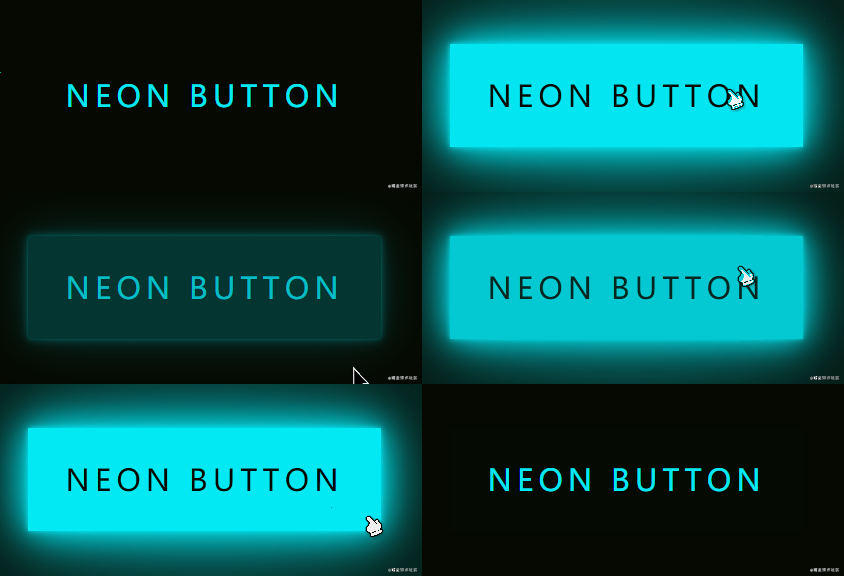
这是要实现的效果:

可以看到,在鼠标移入按钮的时候,会产生类似霓虹灯光的效果;在鼠标移出按钮的时候,会有一束光沿着固定的轨迹(按钮外围)运动。
霓虹灯光的实现
霓虹灯光的实现比较简单,用多重阴影来做即可。我们给按钮加三层阴影,从内到外每层阴影的模糊半径递增,这样的多个阴影叠加在一起,就可以形成一个类似霓虹灯光的效果。这段的代码如下:
HTML:
 <div class="light">
    Neon Button
 </div>
CSS:
body {
 background: #050901;
}
.light {
  width: fit-content;
  padding: 25px 30px;
  color: #03e9f4;
  font-size: 24px;
  text-transform: uppercase;
  transition: 0.5s;
  letter-spacing: 4px;
  cursor: pointer;
}
.light:hover {
  background-color: #03e9f4;
  color: #050801;
  box-shadow: 0 0 5px #03e9f4,
              0 0 25px #03e9f4,
              0 0 50px #03e9f4,
              0 0 200px #03e9f4;
}
最终的效果如下:

运动光束的实现
虽然看起来只有一个光束沿着按钮的边缘运动,但实际上这是四个光束沿着不同方向运动之后叠加的效果。它们运动的方向分别是:从左往右、从上往下、从右往左、从下往上,如下图所示:

在这个过程中,光束和光束之间产生了交集,如果只看按钮的边缘部分,就很像是只有一个光束在做顺时针方向的运动。
下面是具体实现中几个需要注意的点:
- 四个光束分别对应 div.light 的四个子 div,初始位置分别是在按钮的最左侧、最上方、最右侧和最下方,并按照固定的方向做重复的运动
- 每个光束的高度或宽度都很小(只有 2px),并且都有一个从透明色到霓虹色的渐变,因此外表会有一个收束的效果(即看上去不是一条完整的线条)
- 为了确保我们看到的是一个顺时针方向的运动,四个光束的运动实际上是有序的,首先是按钮上方的光束开始运动,在一段时间后,右侧的光束运动,在一段时间后,下方的光束运动,在一段时间后,左侧的光束运动。光束和光束之间的运动有一个延迟,以上方和右侧的光束为例,如果它们同时开始运动,由于右侧的运动距离小于上方的运动距离,就会导致这两个光束错过相交的时机,我们看到的就会是断开的、不连贯的光束。既然右侧光束的运动距离比较短,为了让上方光束可以“追上”它,我们就得让右侧光束“延迟出发”,因此要给它一个动画延迟;同理,剩余两个光束也要有一个动画延迟。多个动画延迟之间大概相差 0.25 秒即可。
- 只需要显示按钮边缘的光束就够了,因此给 div.light 设置一个溢出隐藏
代码如下:
HTML:
<div class="light">
    <div></div>
    <div></div>
    <div></div>
    <div></div>
    Neon Button
</div>
CSS:
.light {
  position: relative;
  padding: 25px 30px;
  color: #03e9f4;
  font-size: 24px;
  text-transform: uppercase;
  transition: 0.5s;
  letter-spacing: 4px;
  cursor: pointer;
  overflow: hidden;
}
.light:hover {
  background-color: #03e9f4;
  color: #050801;
  box-shadow: 0 0 5px #03e9f4,
              0 0 25px #03e9f4,
              0 0 50px #03e9f4,
              0 0 200px #03e9f4;
}
.light div {
  position: absolute;
}
.light div:nth-child(1){
  width: 100%;
  height: 2px;
  top: 0;
  left: -100%;
  background: linear-gradient(to right,transparent,#03e9f4);
  animation: animate1 1s linear infinite;
}
.light div:nth-child(2){
  width: 2px;
  height: 100%;
  top: -100%;
  right: 0;
  background: linear-gradient(to bottom,transparent,#03e9f4);
  animation: animate2 1s linear infinite;
  animation-delay: 0.25s;
}
.light div:nth-child(3){
  width: 100%;
  height: 2px;
  bottom: 0;
  right: -100%;
  background: linear-gradient(to left,transparent,#03e9f4);
  animation: animate3 1s linear infinite;
  animation-delay: 0.5s;
}
.light div:nth-child(4){
  width: 2px;
  height: 100%;
  bottom: -100%;
  left: 0;
  background: linear-gradient(to top,transparent,#03e9f4);
  animation: animate4 1s linear infinite;
  animation-delay: 0.75s;
}
@keyframes animate1 {
  0% {
    left: -100%;
  }
  50%,100% {
    left: 100%;
  }
}
@keyframes animate2 {
  0% {
    top: -100%;
  }
  50%,100% {
    top: 100%;
  }
}
@keyframes animate3 {
  0% {
    right: -100%;
  }
  50%,100% {
    right: 100%;
  }
}
@keyframes animate4 {
  0% {
    bottom: -100%;
  }
  50%,100% {
    bottom: 100%;
  }
}
这样就可以达到文章开头图片的效果了。
不同颜色的霓虹灯
如果想要其它颜色的霓虹灯光效果怎么办呢?是否需要把相关的颜色重新修改一遍?其实我们有更简单的方法,就是使用 filter:hue-rotate(20deg) 一次性修改 div.light 和内部所有元素的色相/色调。
The hue-rotate() CSS function rotates the hue of an element and its contents.
最终效果如下:

以上就是纯 CSS3实现的霓虹灯特效的详细内容,更多关于CSS3实现霓虹灯特效的资料请关注脚本之家其它相关文章!
 咨 询 客 服