操作系统:阿里云esc实例centos7.4
软件:docker-ce version 18.09.3, docker-compose version 1.23.2
一.创建带有swoole-redis-pdo_mysql-gd扩展的docker image
1.创建dockerfile文件
2.在dockerfile文件写入
From php:7.1-fpm
RUN apt-get update && apt-get install -y \

  libfreetype6-dev \

  libjpeg62-turbo-dev \

  libpng-dev \

&& docker-php-ext-install -j$(nproc) iconv \

&& docker-php-ext-configure gd --with-freetype-dir=/usr/include/ --with-jpeg-dir=/usr/include/ \

&& docker-php-ext-install -j$(nproc) gd \

&& docker-php-ext-configure pdo_mysql \

&& docker-php-ext-install pdo_mysql \

&& pecl install redis-4.3.0 \

&& pecl install swoole \

&& docker-php-ext-enable redis swoole
3.创建自定义的php镜像,主要不要漏了最后的 '.',是指定当前目录构建镜像
运行指令,由于网络问题等,需要等比较长的时间,成功后会出现类似下面的代码
...
Build process completed successfully
Installing '/usr/local/include/php/ext/swoole/config.h'
Installing '/usr/local/lib/php/extensions/no-debug-non-zts-20160303/swoole.so'
install ok: channel://pecl.php.net/swoole-4.3.1
configuration option "php_ini" is not set to php.ini location
You should add "extension=swoole.so" to php.ini
Removing intermediate container ad1420f7554f
---> 2f2f332d73ce
Successfully built 2f2f332d73ce
Successfully tagged myphp4:latest
至此docker 的自定义myphp4 image创建成功!
二.创建docker-compose.yml文件
mkdir pnsmr
cd pnsmr
vim docker-compose.yml
写入下面代码
version: '3.0'
services:
nginx:
  image: "nginx:latest"
  ports:
   - "10000:80"
  volumes:
   - /var/www/html:/usr/share/nginx/html
php-fpm:
  image: "myphp4"
  volumes:
  - /var/www/html:/usr/share/nginx/html
mysql:
  image: "mysql:latest"
redis:
  image: "redis:4.0"
运行指令
成功可以看到
WARNING: The Docker Engine you're using is running in swarm mode.
Compose does not use swarm mode to deploy services to multiple nodes in a swarm. All containers will be scheduled on the current node.
To deploy your application across the swarm, use `docker stack deploy`.
Creating network "pnsmr_default" with the default driver
Creating pnsmr_php-fpm_1 ... done
Creating pnsmr_redis_1 ... done
Creating pnsmr_mysql_1 ... done
Creating pnsmr_nginx_1 ... done
至此,已开启nginx mysql redis php 服务
三.修改各服务配置文件
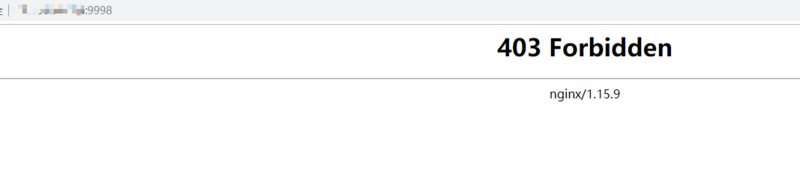
1.浏览器输入 127.0.0.1:9998 #此处应输入你的服务器ip地址,可以看到下图
2.接下来要修改容器里nginx的配置文件,先使用指令查看各容器的docker IP地址
docker inspect -f '{{.Name}} - {{range .NetworkSettings.Networks}}{{.IPAddress}}{{end}}' $(docker ps -aq)
此指令可以查看所有用docker-compose 开启的容器的ip,结果类似下图,可以用对应的ip地址进行内部通讯

3.复制nginx容器的配置文件出来,并修改替换,使nginx能解析php
docker cp pnsmr_nginx_1:/etc/nginx/conf.d/default.conf nginx.conf
vim nginx.conf
修改为下列代码
server {
listen 80;
server_name localhost;
#charset koi8-r;
#access_log /var/log/nginx/host.access.log main;
location / {
root /usr/share/nginx/html;
index index.html index.htm;
}
#error_page 404 /404.html;
# redirect server error pages to the static page /50x.html
#
error_page 500 502 503 504 /50x.html;
location = /50x.html {
root /usr/share/nginx/html;
}
# proxy the PHP scripts to Apache listening on 127.0.0.1:80
#
#location ~ \.php$ {
# proxy_pass http://127.0.0.1;
#}
# pass the PHP scripts to FastCGI server listening on 127.0.0.1:9000
#
location ~ \.php$ {
root html;
fastcgi_pass 172.24.0.3:9000;#此处需要填写你的php容器的docker内部通讯ip
fastcgi_index index.php;
fastcgi_param SCRIPT_FILENAME /usr/share/nginx/html/$fastcgi_script_name;
include fastcgi_params;
}
# deny access to .htaccess files, if Apache's document root
# concurs with nginx's one
#
#location ~ /\.ht {
# deny all;
#}
}
docker cp nginx.conf pnsmr_nginx_1:/etc/nginx/conf.d/default.conf #将修改好的配置文件拷贝到容器里
docker container stop pnsmr_nginx_1
docker container start pnsmr_nginx_1 #重启nginx容器使配置文件生效
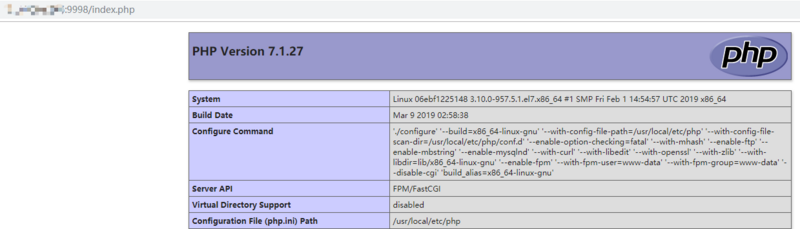
vim /var/www/html/index.php #在服务器本地目录新建 index.php 文件,输入<?php phpinfo(); 并保存
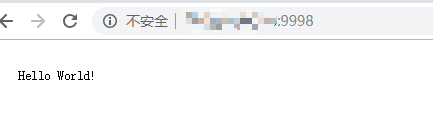
vim /var/www/html/index.html #在服务器本地目录新建 index.html 文件,输出helloworld
访问127.0.0.1:9998, html文件解析正常
访问127.0.0.1:9998/index.php,php文件解析正常
4.测试mysql,redis是否生效
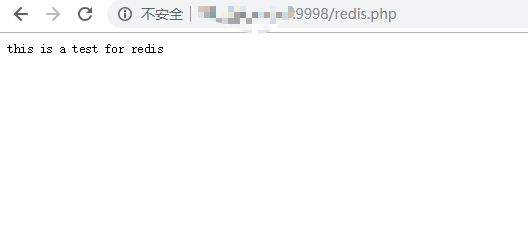
vim /var/www/html/redis.php #用于测试redis是否配置成功
<?php
$redis = new Redis();
$redis->connect("172.24.0.4",6379);
$redis->set('test','this is a test for redis');
echo $redis->get('test');
访问127.0.0.1:9998/redis.php,redis已生效
进入mysql容器
docker exec -it pnsmr_mysql_1 bash
进入mysql并更改root用户密码

创建测试文件
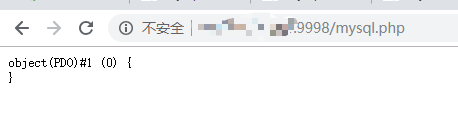
vim /var/www/html/mysql.php
<?php
$pdo = new PDO('mysql:host=172.24.0.2;dbname=mysql;port=3306','root','root123');
var_dump($pdo);
访问127.0.0.1:9998/mysql.php,mysql已生效
四.总结
虽然环境是配置成功了,并可以用docker-compose up 指令一键生成,但是还要改各容器的配置文件,仍然不够方便,需要优化;另外docker的集群,堆栈功能也没用上,后面再继续学习.
以上就是本文的全部内容,希望对大家的学习有所帮助,也希望大家多多支持脚本之家。


 咨 询 客 服