对于mac系统的人来说,还是有很多不方便的地方,在我们发送邮件的时候,每一次都要重复的设置签名,真心觉得没有必要,本文为大家带来了设置邮件签名教程,一起来看看吧!
Mac outlook怎么设置邮件签名
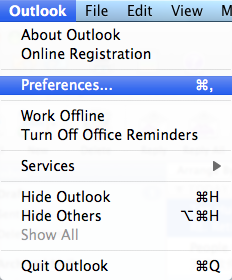
1.开启outlook for mac
2.打开outlook的系统设置,如图:
3.出现如下界面。
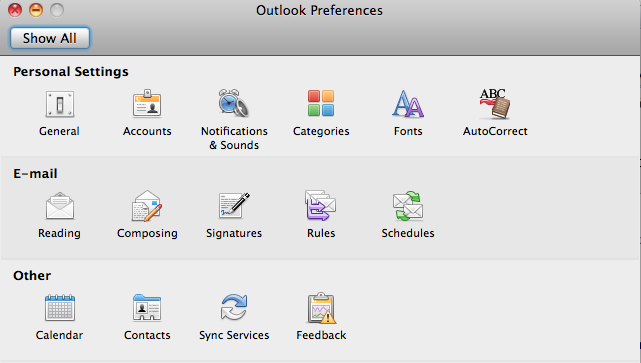
4.选择其中的Signatures,出现如下界面.(点击左下角的加号,添加新项,我已添加两项)
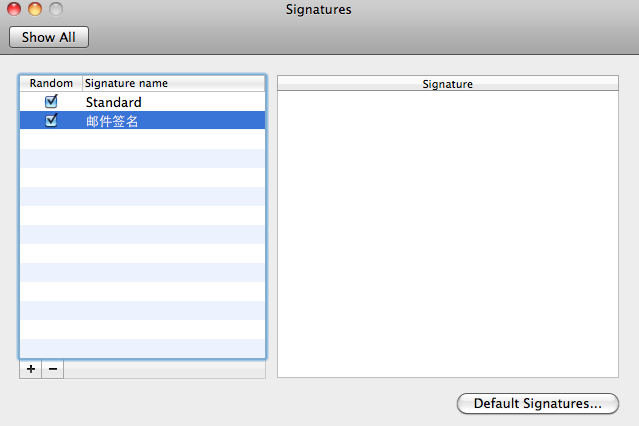
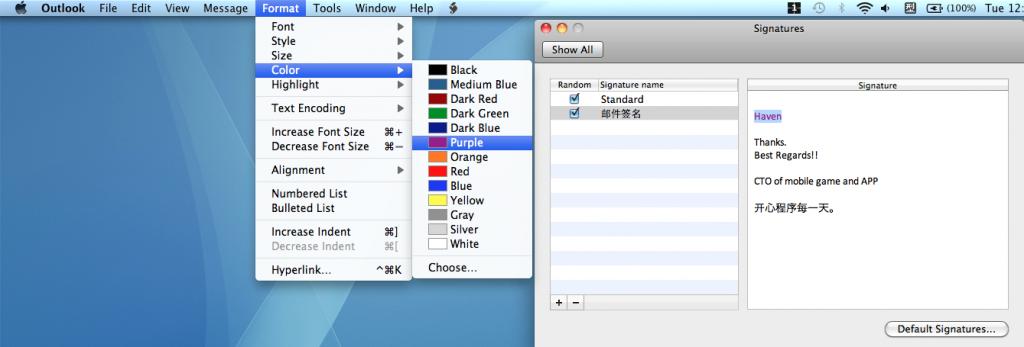
5. 在左边选中一项,然后在右边输入签名内容,也可以设置颜色,字体大小,超链接等,如下:
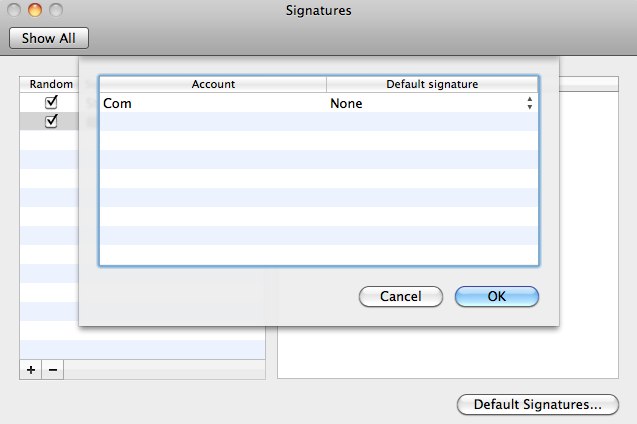
6.然后选择右下角的Default Signatures, 出现界面:
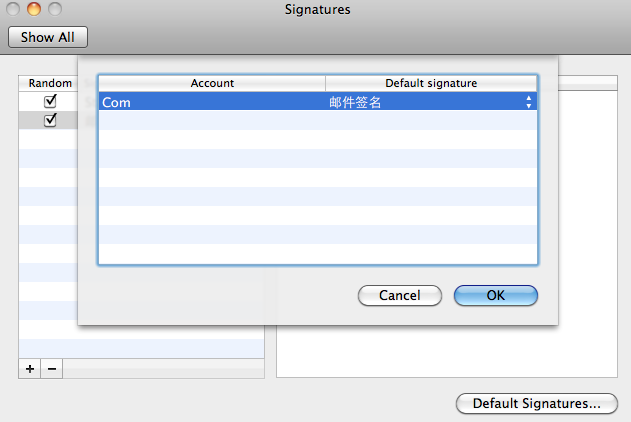
7.在右边选择你设计好的签名项,在此我选择的是刚创建的:邮件签名 ,点击OK.
设置完毕,现在可以在发送或回复邮件的时候自动有签名信息。


 咨 询 客 服