电脑安装的是Win10 的64位系统,在某些网站上传图片时,发现图片像素太大传不上去,需要对图片的像素进行修改,该怎么修改呢?下面我们就来看看详细的教程。
方法一:使用系统自带的【画图】软件修改图片像素。
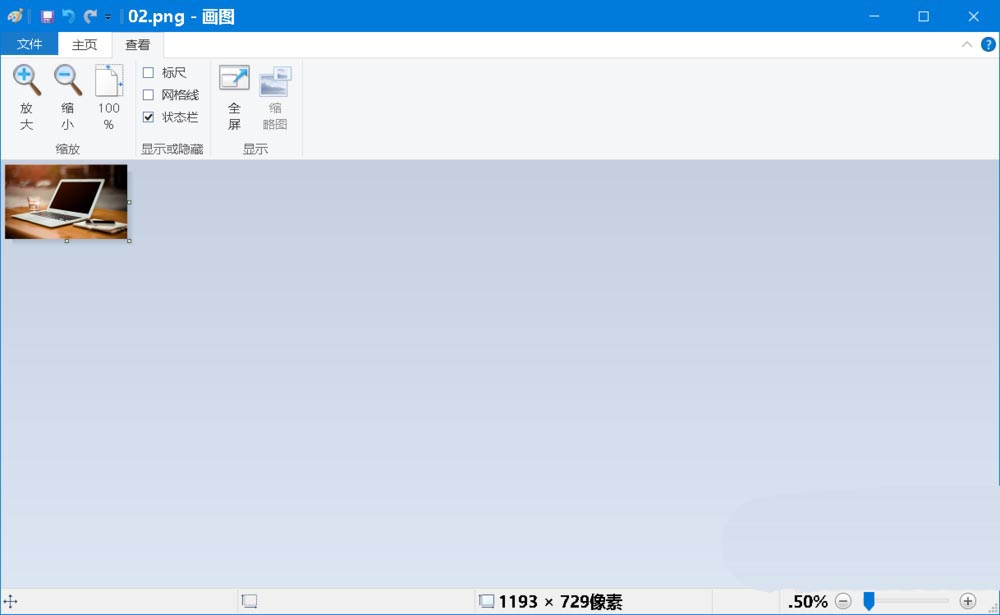
1、在开始菜单 - Windows 附件中点击【画图】软件打开;
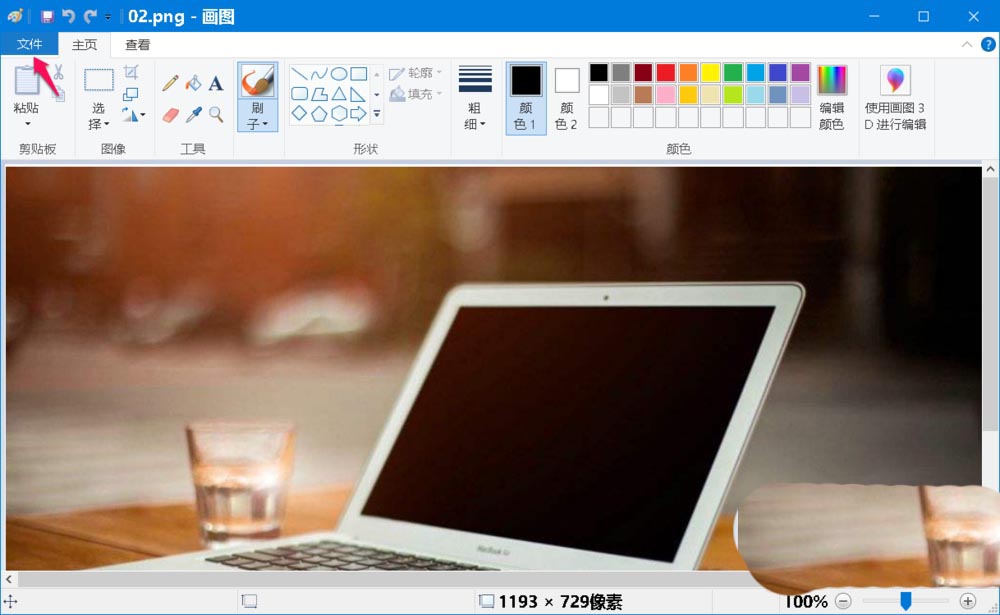
2、点击【文件】 - 打开,导入一张图片;
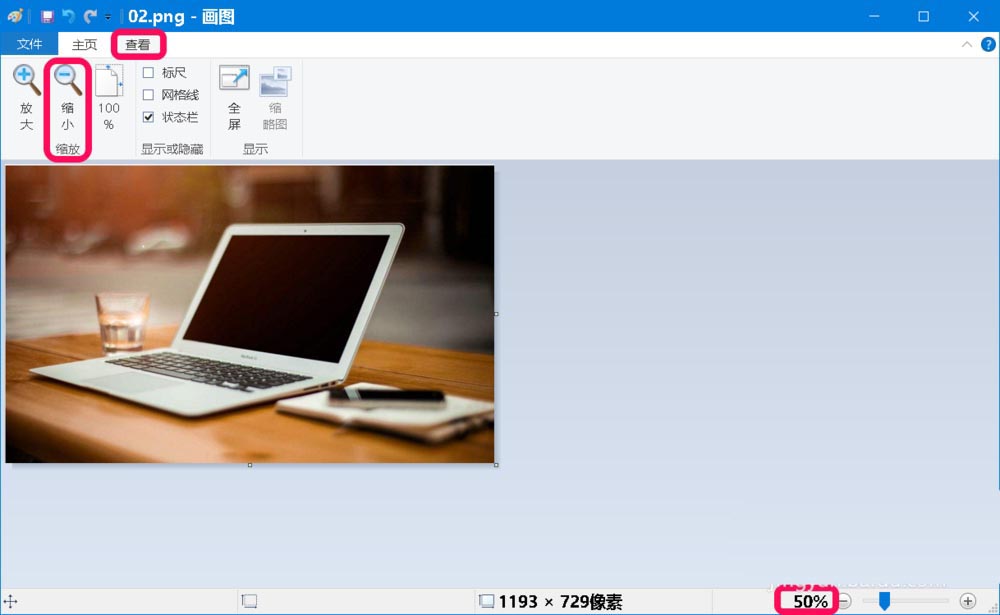
3、我们再点击【查看】-【缩小】,可以看到图片缩小到原图片的50%;
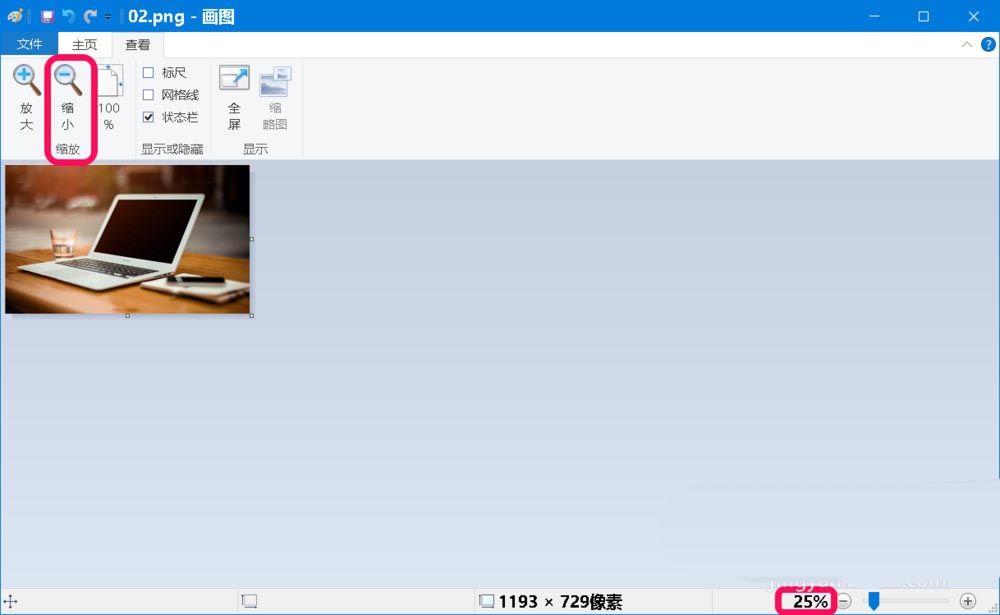
4、继续点击【缩小】,则可将图片缩小为原来的25%;
5、还可继续缩小。此方法只能按比例缩小,不能随心所欲更改图片的像素。
方法二:使用 Adobe Photoshop 软件改变图片的像素
1、下载安装 Adobe Photoshop 软件(略)
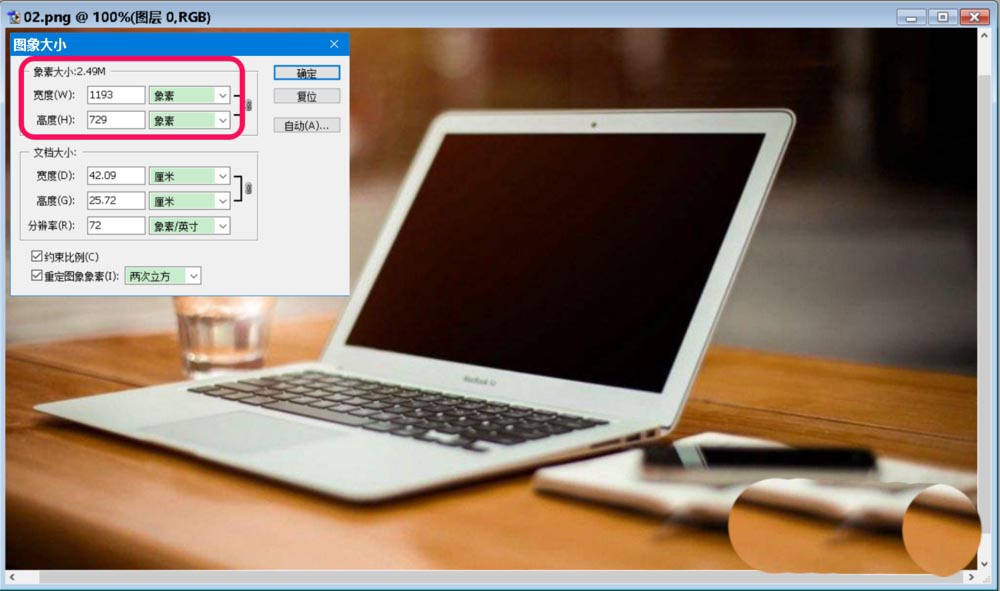
2、改变图片像素大小
启动 Adobe Photoshop 软件程序,导入图片,可以看到该图片的实际像素
宽度:1193 高度:729
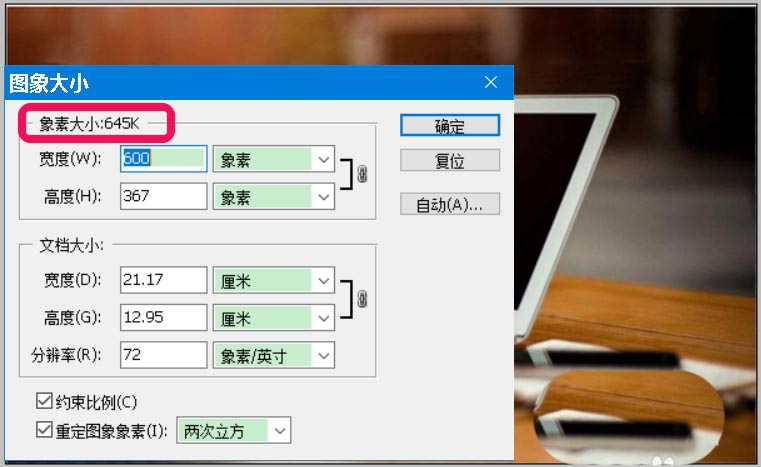
3、约束比例修改图片像素:
选择【约束比例(C)】,将图片像素宽度更改为:600,则高度按照比例自动更改为:367,点击:确定;
像素大小644K(更改之前2.49M)
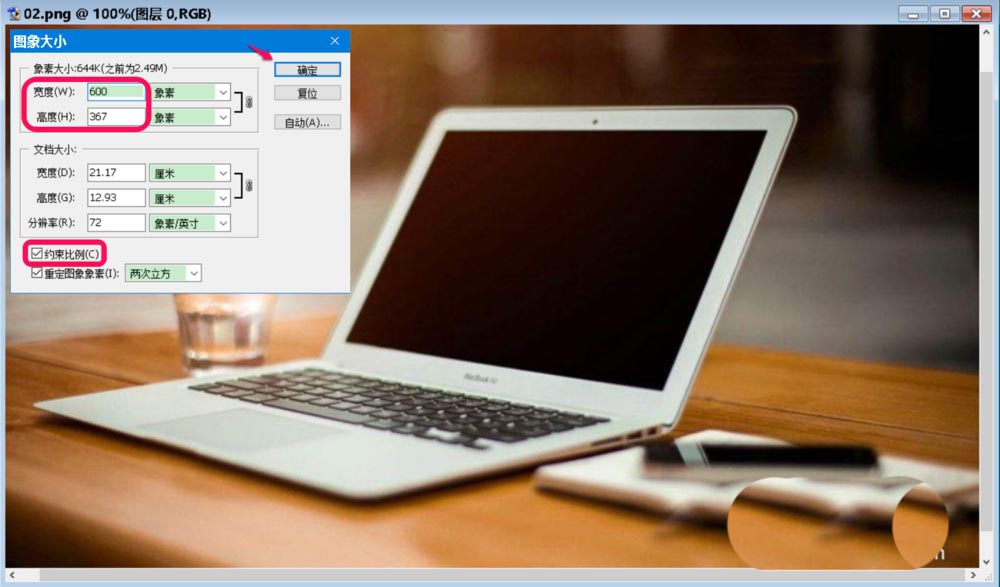
4、更改后的图片像素为:645K。
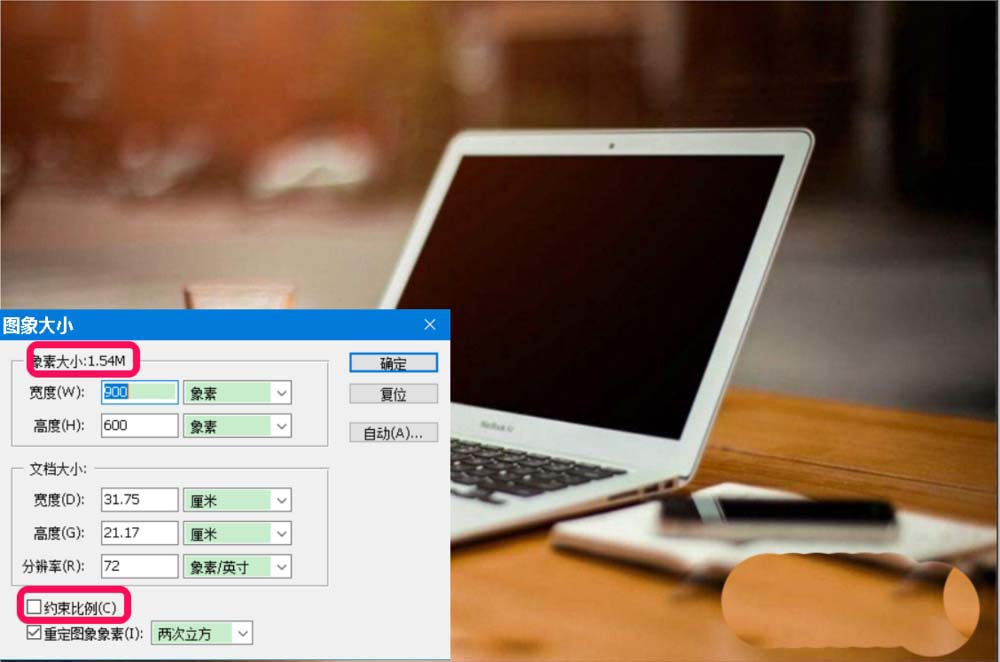
5、非约束比例修改图片像素:
去掉【约束比例(C)】前面复选框内的小勾,将图片像素宽度更改为:900,高度更改为:600,点击:确定;
像素大小1.54M(更改像素之前2.49M)

6、更改后的图片像素为:1.54M。
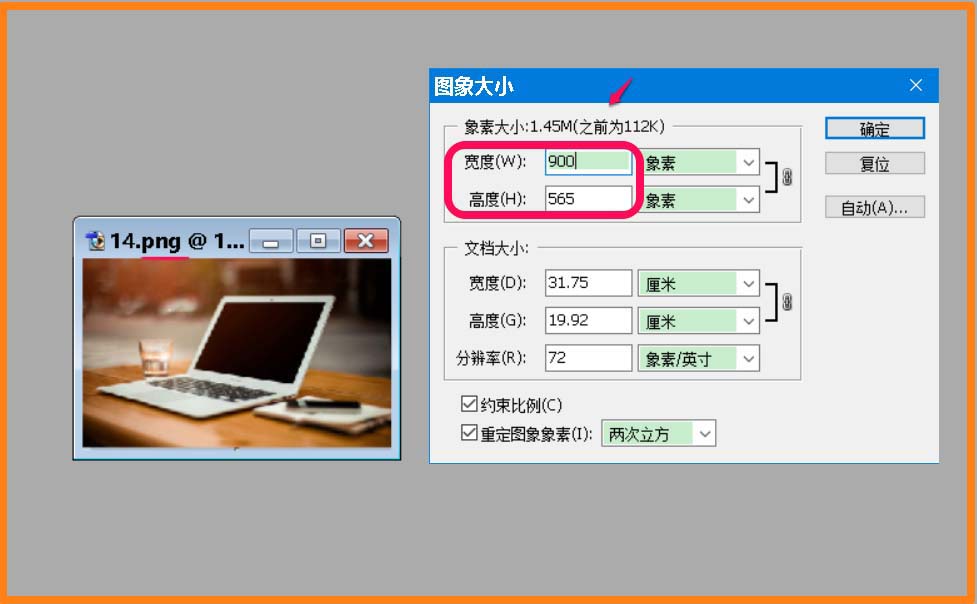
7、按照同样的方法,我们也可以将图片放大。
以上就是win10修改图片像素的两种方法,希望大家喜欢,请继续关注脚本之家。
相关推荐:
Win10系统背景图片怎么添加自己喜欢的图片?
Win10怎么设置pdf/psd格式图片的默认查看方式?
Win10怎么使用Phototastic Collage排版图片?


 咨 询 客 服