1. 从官网下载安装包 下载网址
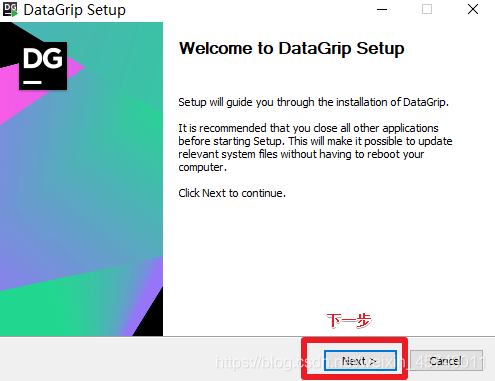
2. 安装
第一步
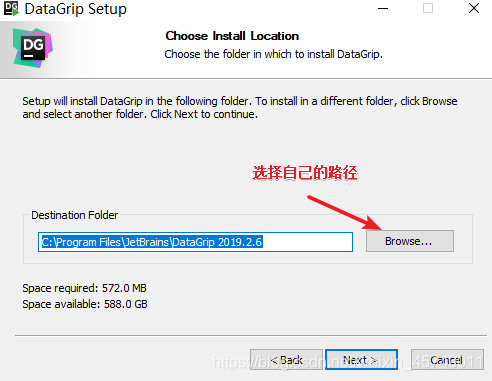
第二步
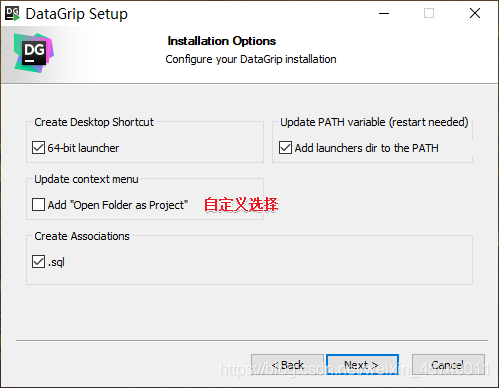
第三步
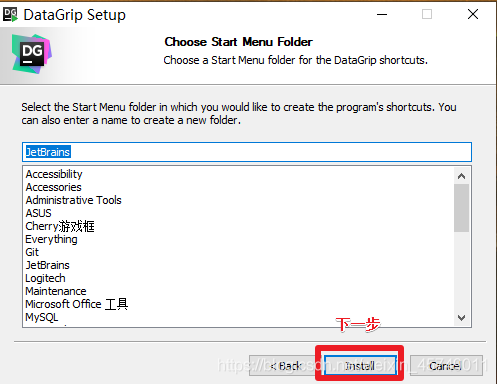
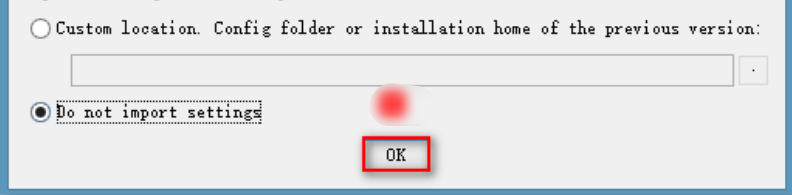
第四步
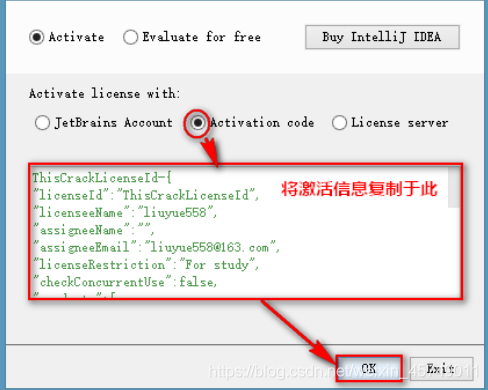
3. 安装完成后输入激活码
使用安装idea的图 datagrip 与此类似
4. 配置Hive
第一步
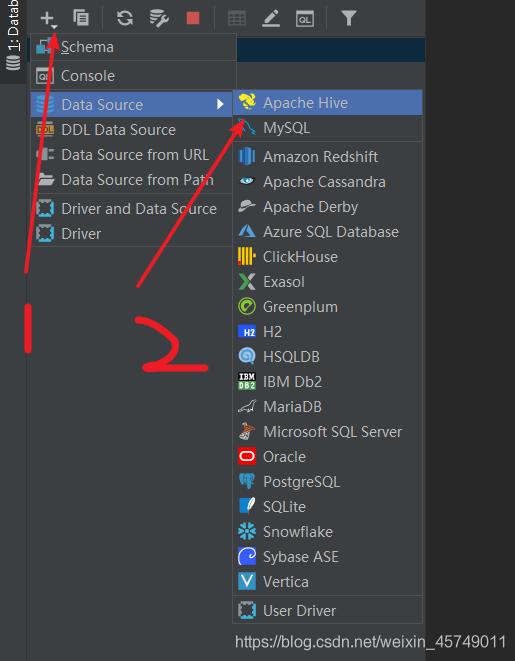
第二步
第三步 可以在虚拟机上拷贝到本地
jar 包获取链接
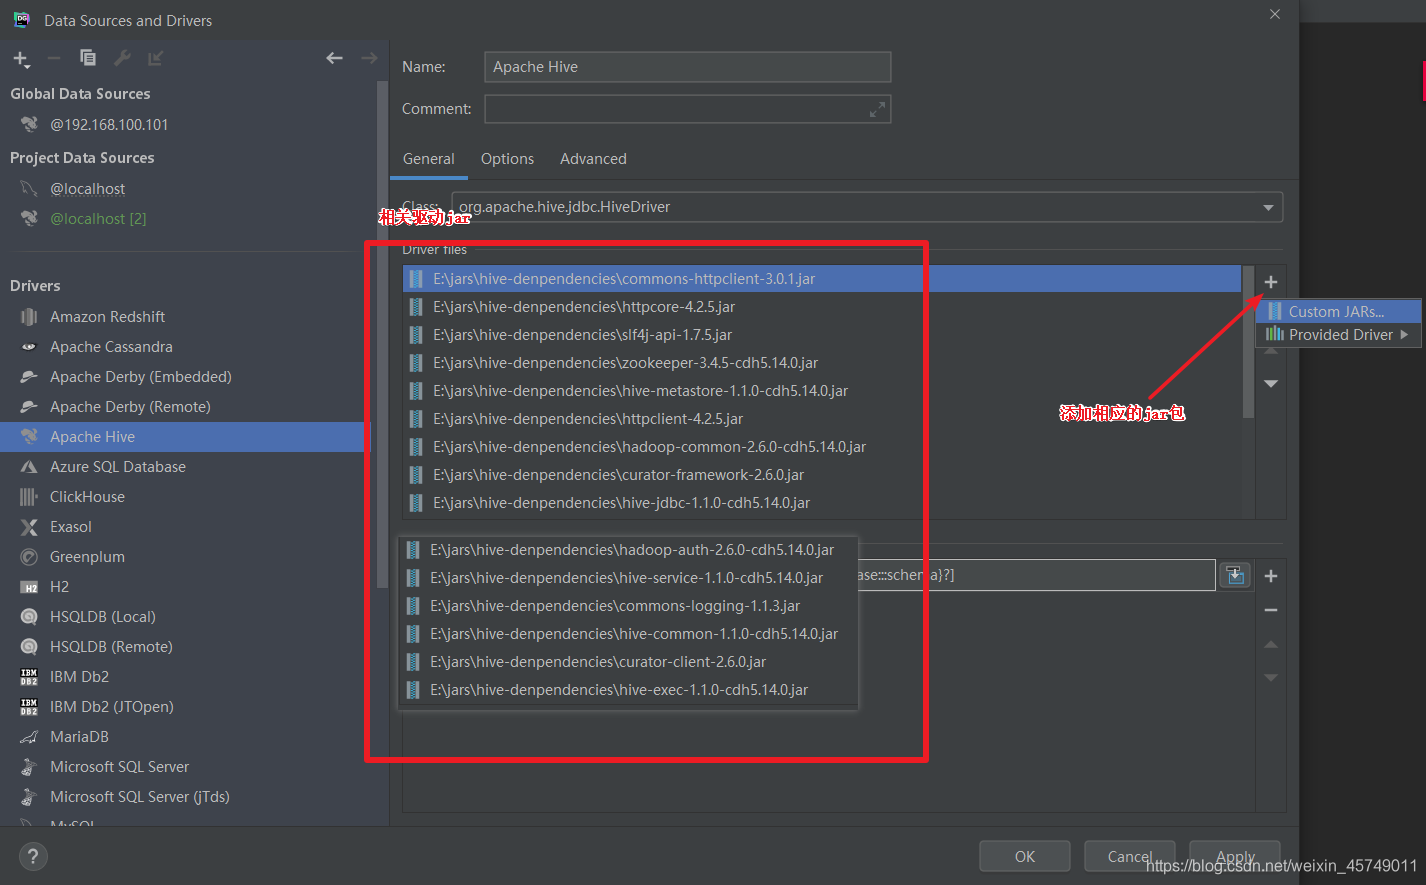
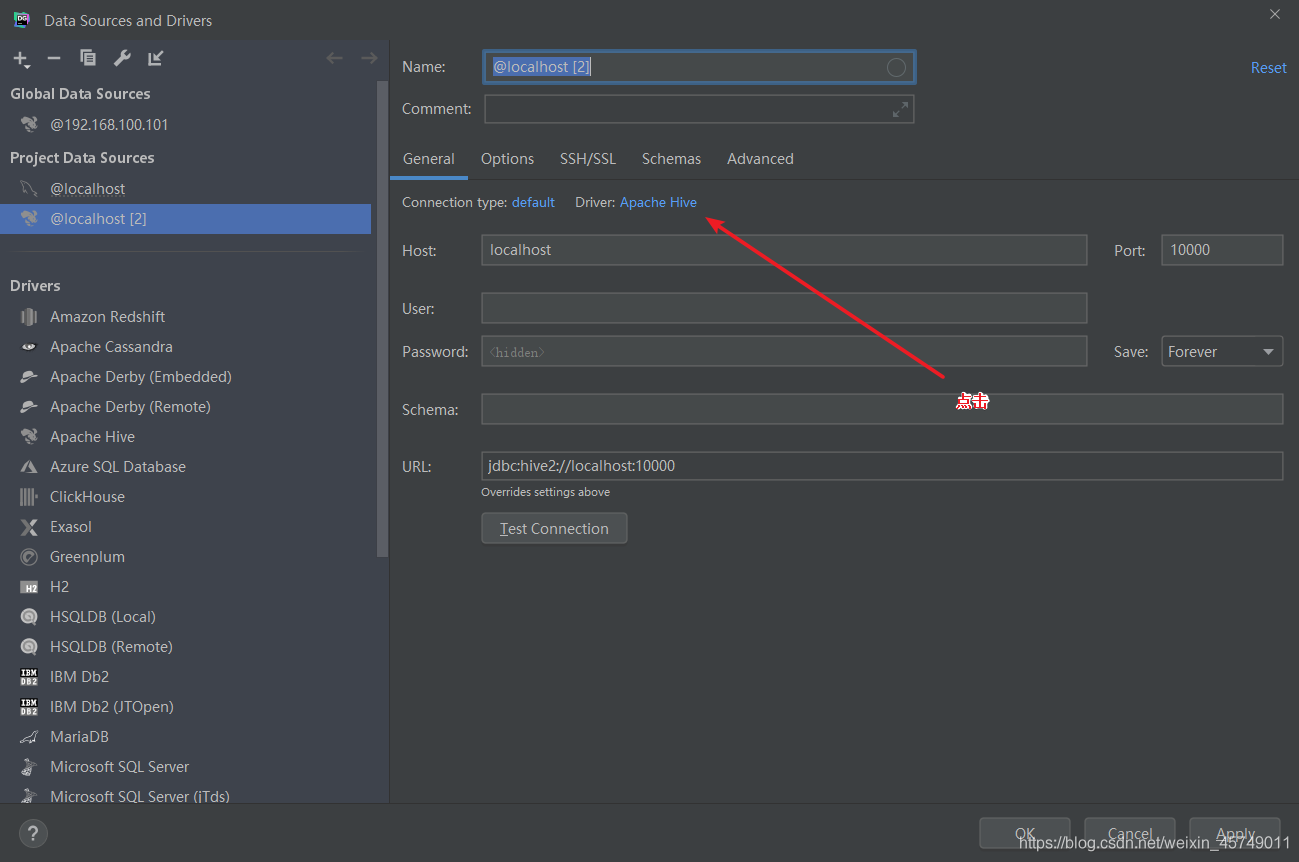
第四步
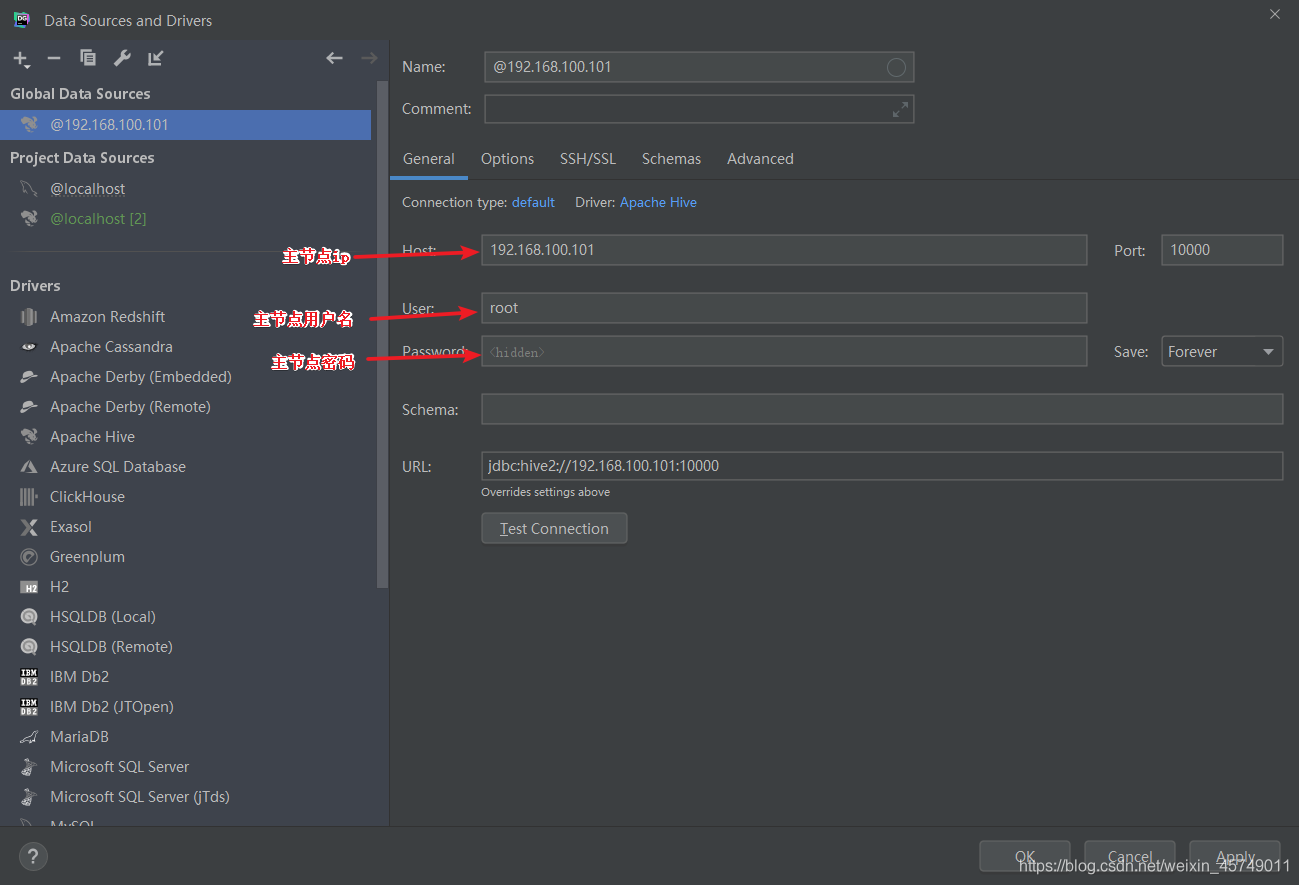
第五步:
在主节点上执行如下代码 (后台开启 hive 服务)
不开启此服务无法连接
[root@node01 /]# nohup hive --service hiveserver2
克隆主节点测试是否能够连接的通
[root@node01 /]# beeline
which: no hbase in (/usr/lib64/qt-3.3/bin:/usr/local/sbin:/usr/local/bin:/sbin:/bin:/usr/sbin:/usr/bin:/export/servers/hadoop-2.6.0-cdh5.14.0/bin:/export/servers/hive-1.1.0-cdh5.14.0//bin:/export/servers/jdk1.8.0_144/bin:/root/bin)
Beeline version 1.1.0-cdh5.14.0 by Apache Hive
beeline>
beeline>
beeline> !connect jdbc:hive2://node01:10000
scan complete in 2ms
Connecting to jdbc:hive2://node01:10000
Enter username for jdbc:hive2://node01:10000: root
Enter password for jdbc:hive2://node01:10000: ******
Connected to: Apache Hive (version 1.1.0-cdh5.14.0)
Driver: Hive JDBC (version 1.1.0-cdh5.14.0)
Transaction isolation: TRANSACTION_REPEATABLE_READ
0: jdbc:hive2://node01:10000>
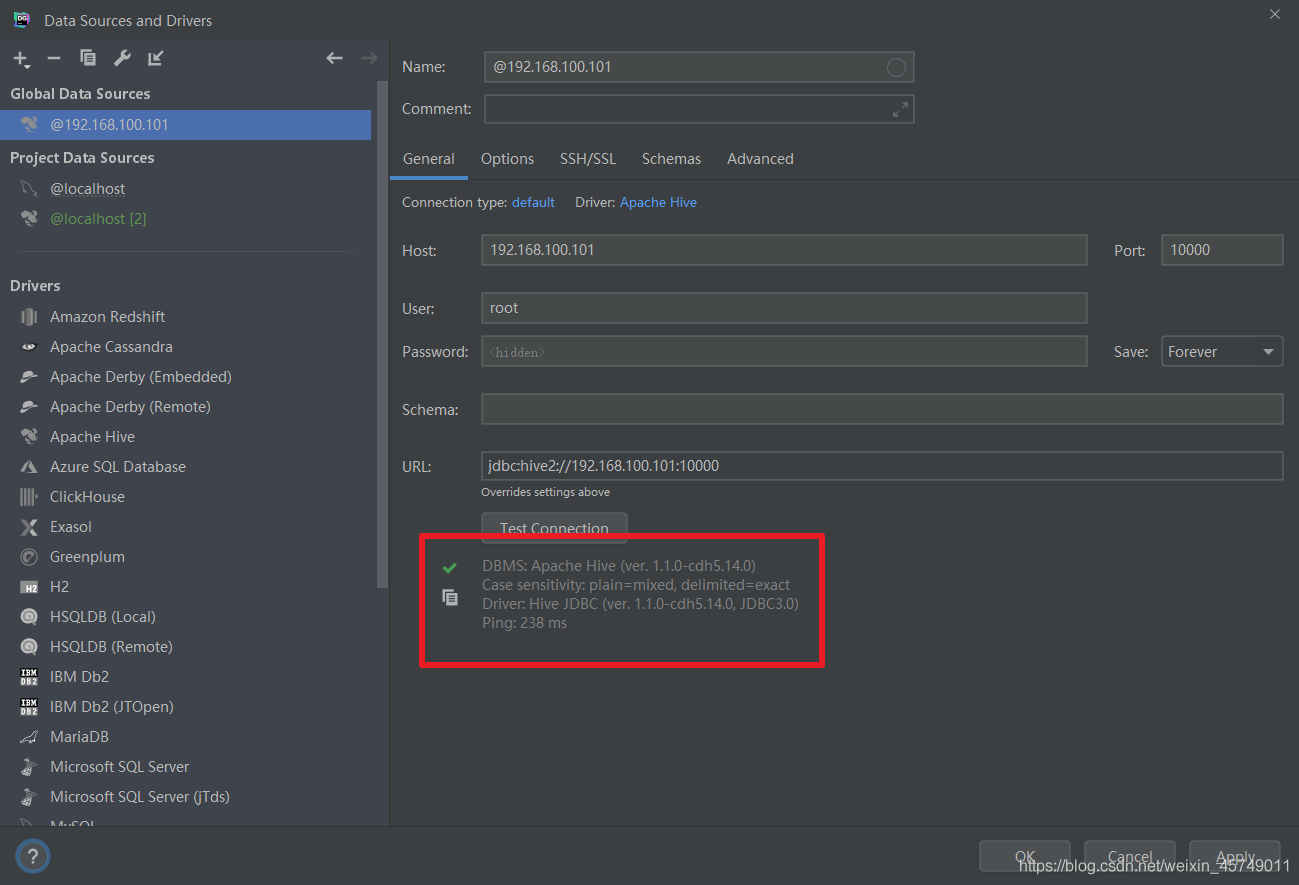
第六步 (看到如下信息即为成功)
DataGrip系列教程:
最新DataGrip2020.2.x破解版激活码的步骤详解(支持Mac/Windows/Linux)
DataGrip 2020.1 安装与激活方法
到此这篇关于DataGrip连接Hive的详细图文教程的文章就介绍到这了,更多相关DataGrip连接Hive内容请搜索脚本之家以前的文章或继续浏览下面的相关文章希望大家以后多多支持脚本之家!
您可能感兴趣的文章:- 使用Idea或Datagrip导入excel数据的方法
- 使用DataGrip的详细教程
- 从零开始用DataGrip的安装及使用教程
- JetBrains出品一款好用到爆的DataGrip数据库工具使用入门


 咨 询 客 服